
Screen printing mistakes can derail a design quickly, but most defects are preventable with the right setup, process, and checklists. This guide focuses on practical strategies to fix common issues and defects in screen printing, and to build a workflow that minimizes these problems in the future. By understanding where problems originate and how to respond quickly, you can improve consistency, reduce waste, and deliver higher quality prints that meet customer expectations. A solid pre-press and on-press routine helps catch issues early and prevent failures before they impact a batch. Practical tips cover screen printing defects, fix screen printing mistakes, screen printing troubleshooting, common screen printing errors, and preventing screen printing defects.
Put simply, this topic covers common garment decoration flaws, misregistration, ink bleed, and cure reliability that influence how a print looks and lasts. Alternative terminology anchors the idea in production terms such as printing defects, process troubleshooting, quality control, and workflow standardization. By focusing on management of mesh, emulsion coverage, viscosity, and curing parameters—terms frequently used in textile printing—you gain a clearer picture of root causes and fixes. Using these related concepts aligns content with search intents around troubleshooting and preventing defects in screen printing and related processes.
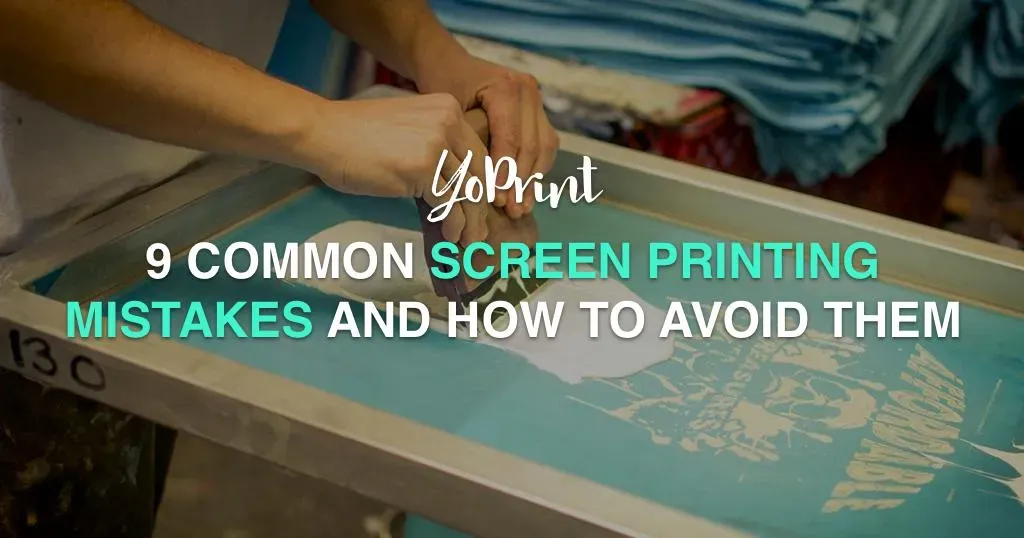
Screen printing mistakes: Root causes, prevention, and pathways to consistency
Screen printing mistakes can arise at every stage, from design prep to curing, and they often cascade into defects in appearance, durability, or hand feel. Understanding the root causes helps you move beyond symptom fixing to sustainable improvement. By framing issues as screen printing defects and applying a systematic approach, you can prevent common screen printing errors and reduce waste. This mindset supports a workflow focused on prevention, rapid response, and consistent results that meet customer expectations.
To make this practical, build a workflow that emphasizes pre-press checks, precise screening, and disciplined curing. Employ clear checklists for fix screen printing mistakes and screen printing troubleshooting, so operators can diagnose issues quickly. Emphasize documentation and standard operating procedures (SOPs) to validate improvements and create a repeatable path from design to finished product, reducing the likelihood of recurring screen printing defects.
Common screen printing defects: symptoms, causes, and remedies
Misregistration, ink bleeding, curing defects, and color variations are the most visible indicators of common screen printing errors. Each defect has root causes—from frame tension and squeegee technique to ink viscosity and garment variability—that can be addressed with targeted fixes. Recognizing these screen printing defects early lets you act quickly, improving yield and consistency across batches.
Addressing these issues requires a practical mix of adjustments and preventive measures. For example, you might tweak mesh count, adjust curing times, or refine color matching in artwork files. Incorporating this diagnostic approach into your workflow supports ongoing improvements in preventing screen printing defects and reduces the need for post-print reworks.
Pre-press checks to prevent mistakes and elevate print quality
Preventing mistakes starts before ink meets fabric. Thorough pre-press checks—artwork management, proper color separations, and careful screen selection—lay the foundation for high-quality prints. By aligning mesh count, stencil exposure, and ink type with the fabric, you minimize the likelihood of defects and set expectations that align with the final appearance.
Testing on similar fabrics and running dry runs on test garments help verify results before a full run. This proactive step reduces risk and provides a real-world check against screen printing defects. Implementing a disciplined pre-press routine supports smoother production and is a cornerstone of preventing screen printing defects across jobs.
Troubleshooting step-by-step to fix screen printing mistakes efficiently
When defects appear, a structured, step-by-step approach helps isolate the cause and choose an effective fix. Start with observation and documentation, then reassess pre-press setup, ink, and printing technique. This methodical process is at the heart of screen printing troubleshooting and enables rapid, informed decisions that minimize waste.
Applying targeted fixes—such as tightening frame alignment, adjusting squeegee pressure, or calibrating the dryer—often resolves issues without retooling the entire job. Documenting what worked creates a knowledge base that improves future runs and strengthens your ability to fix screen printing mistakes quickly and reliably.
Ink, mesh, and tooling: Core variables that impact screen printing defects
Ink behavior drives many defects. Maintaining consistent viscosity, pigment dispersion, and batch-to-batch quality helps prevent color variation within a single print run. Pairing the right mesh count with the fabric improves detail and adhesion, reducing common screen printing errors like bleeding or feathering.
Tooling setup—squeegee durometer, angle, and flood stroke timing—also plays a critical role. Worn or misaligned squeegees can deposit uneven ink or create edge fuzz. Regular maintenance and proper setup are essential for preventing screen printing defects and achieving repeatable results across colors and designs.
Curing, QA, and best practices for durable, high-quality prints
Curing is where all prior work finally ‘locks in’ the design. Incorrect cure temperature or dwell time can lead to soft hand, cracking, or wash-off, so verify results with a test garment and, if possible, a formal wash test. Consistent dryer performance and proper conveyor speed are required to ensure durable adhesion across all items.
Quality assurance should be built into every batch, with final checks for alignment, color accuracy, and cure stability. Regular maintenance, color management, and operator training support a culture of continuous improvement. Following these best practices helps you prevent screen printing defects and maintain high-quality, long-lasting prints that satisfy customers.
Frequently Asked Questions
What are the most common screen printing mistakes during setup, and how can I prevent screen printing defects?
The most common screen printing mistakes during setup are misregistration, ink bleeding, curing defects, color variation, uneven deposits, and worn screens. Prevent these screen printing defects with a solid pre-press routine: verify artwork separations and color order; select the right mesh count and ensure proper emulsion exposure; check ink viscosity and batch consistency; and run test prints on the target fabric before starting the run.
How can I fix screen printing mistakes caused by misregistration?
Fix screen printing mistakes from misregistration by checking and tightening frame tension, rechecking alignment marks, and performing a registration test print. Ensure the platen is level, re-stencil or re-expose if needed, and adjust the artwork spacing. After changes, run a small test batch to confirm alignment.
What practical screen printing troubleshooting steps help identify defects during production?
Follow a structured troubleshooting approach: observe and document the defect (location, color, and when it occurs); review pre-press setup (artwork, mesh, emulsion); inspect ink for clumping or separation; evaluate the print process (squeegee speed, pressure, and flood timing); verify cure conditions; and test with a small run to confirm resolution.
How can I prevent screen printing defects like ink bleeding and color variation in multi-color designs?
Prevent bleeding and color variation by managing ink viscosity and mesh compatibility, controlling the flash between color layers, and using accurate color matching. Use test prints and proofing to compare digital and printed results, ensure proper color separations, and adjust process parameters (printing order, squeegee pressure) to maintain consistent density across colors.
What signs indicate a poor cure, and how do you fix curing defects in screen printing?
Signs of a poor cure include soft hand feel, smudging after washing, cracking, or color transfer. Fix by verifying cure temperature and dwell time with a thermometer, calibrating the dryer and conveyor speed, and running cure tests on representative garments before full production.
What is a simple QA checklist to reduce screen printing mistakes and prevent common screen printing errors?
Use a concise QA checklist: documented SOPs for artwork prep, screen setup, ink handling, and curing; strict color management with proofs; regular maintenance of screens and squeegees; a final batch QA pass with random print inspection; operator training and a feedback loop; and routine wash tests to verify color fastness and durability.
| Topic | Key Points |
|---|---|
| Common Mistakes & Defects |
|
| Pre-Press Checks to Prevent Mistakes |
|
| Ink, Mesh, and Tooling Considerations |
|
| Squeegee Techniques & Print Stroke Quality |
|
| Curing & Post-Print Quality Assurance |
|
| Troubleshooting Step by Step for Common Defects |
|
| Preventing Future Mistakes: Best Practices & QA Checklist |
|
Summary
Conclusion: Screen printing mistakes can derail a production run, but with a solid setup, process discipline, and QA, you can consistently deliver high-quality prints. This overview highlights the key areas for preventing defects—planning and pre-press checks, careful ink and tooling decisions, precise squeegee technique, accurate curing, and thorough troubleshooting and QA practices. By applying these practices across jobs, shops of any size can reduce waste, improve consistency, and achieve durable, vibrant finishes that meet customer expectations and protect brand reputation.