
Embroidered patches have become a vibrant way to personalize clothing, offering a tangible, craft-filled outlet for self-expression today. From denim jackets to canvas totes, these small fabric badges can transform looks while staying durable and affordable for beginners and pros alike. Whether you design your own, source ready-made, or commission a creator, patch design ideas can unlock endless personality. This guide covers practical steps for applying patches and keeping them looking fresh, with tips on backing, borders, placement, care, and long-term durability. With options like versatile embroidery styles and thoughtful placements, you can elevate any garment with texture and character.
Beyond the term patches, you’ll hear about fabric badges, textile emblems, and sewn insignia that attach to clothing to signal identity or team spirit. Decorative fabric badges come in iron-on, sew-on, or adhesive-backed styles, widening the ways you customize gear. Whether you’re exploring at-home stitching projects, embroidery designs, or ready-made insignias, the concept remains a versatile canvas for personal branding. Exploring materials, backing options, and placement strategies helps you craft a cohesive look across jackets, bags, and accessories.
Embroidered Patches: Understanding Types, Materials, and Aesthetics
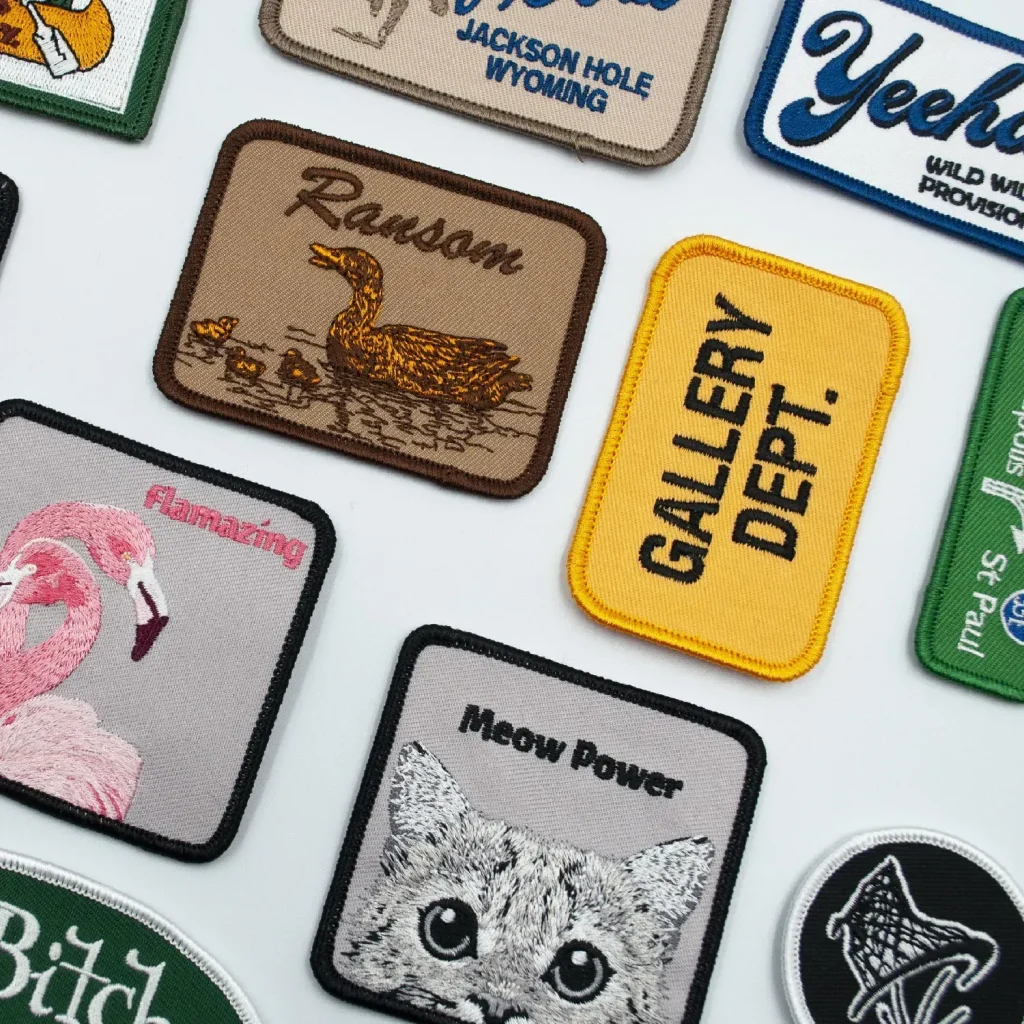
Embroidered patches are decorative textile embellishments created with dense embroidery that adds texture and visual impact to fabric. They come in varied forms, from iron-on and sew-on to self-adhesive designs, and often feature borders such as merrow or satin edges that frame the artwork. When selecting patches, you’ll consider fabric compatibility, backing stability, and the intended garment’s wash frequency, all of which influence durability and readability of the design.
Beyond their look, embroidered patches offer practical versatility. They can convey a team logo, a personal motto, or a playful motif with a tactile presence that other embellishments can’t match. Their durability and ease of replacement make them ideal for wardrobe refreshes, group branding, or limited-edition capsules, enabling you to refresh style without committing to new garments.
DIY Embroidered Patches vs Custom Patches: Choosing Your Path
Whether you pursue DIY embroidered patches or opt for custom patches from a designer, the choice shapes cost, lead times, and creative control. DIY patches optimize for personal experimentation, color freedom, and at-home assembly, but may require time to learn stitching, stabilizing fabrics, and backing selection. Custom patches, on the other hand, offer production-grade finishes, scalability for brands, and professional coordination on design files, timing, and packaging.
When deciding, think about your goals: is this a one-off piece for personal style, a small brand rollout, or a club/team insignia with multiple uses? Budget considerations and desired texture—merrow-edged borders for a bold look or satin edges for a sleek, minimal aesthetic—will guide whether you tackle the project yourself or contract production of high-quality patches.
Patch Design Ideas to Elevate Your Wardrobe
Design ideas act as the compass for patch values and style coherence. Start with monochrome motifs on contrasting fabrics to preserve legibility, or mix playful typography with simple icons for personality that remains legible at a glance. Consider retro badges or minimalist logos that feel premium on pockets, sleeves, or collars, then layer color and texture to create depth.
Exploring patch design ideas also means thinking about story and branding. Travel motifs, nature imagery, or pop-culture mashups can spark conversations, while custom shapes and embroidery techniques—such as gradient fills or embossed textures—add tactile interest. This approach supports both personal expression and cohesive branding for small collections or niche communities.
How to Create Your Own Patches: DIY Techniques and Machine Embroidery Patches
Creating your own patches starts with a clear plan: sketch the motif, choose a color palette, and decide patch size in relation to the garment. For durability, stable fabrics like denim or twill work best, supported by stabilizers to prevent puckering. You can use a home machine for machine embroidery patches or opt for hand embroidery to achieve a handmade charm.
A practical DIY path includes selecting thread types (polyester or rayon for vibrant color), choosing backing options (iron-on, sew-on, or self-adhesive), and deciding on finishing touches such as merrow borders for a bold edge or satin borders for a refined line. If you’re pursuing a professional finish or want patches at scale, you can collaborate with a patch designer or manufacturer who specializes in machine embroidery patches to ensure production-readiness.
How to Apply Embroidered Patches: A Practical Step-by-Step Guide
To apply patches securely, you’ll choose among iron-on, sew-on, or adhesive-backed options. Preparation matters: pre-wash the garment to minimize shrinkage, align the patch precisely, and protect the patch with a thin cloth during application. For iron-on patches, apply steady heat with a hot, dry iron and pressure for 20–30 seconds per area.
Sew-on patches require careful stitching around the border with a matching thread, reinforcing corners for durability. For adhesive-backed patches, follow the manufacturer’s instructions to ensure proper activation of the adhesive. Regardless of method, allowing a patch to cool fully and performing a gentle tug test helps verify adhesion before regular wear.
Care, Maintenance, and Longevity of Embroidered Patches
Maintenance starts with proper washing: turn garments inside out, use a gentle cycle, and avoid high heat that can loosen adhesives or degrade threads. Drying should prioritize air-drying, with a low-heat dryer option if necessary to minimize patch lift or color fading.
Over time, patches may loosen at edges; resew or reapply as needed to extend life. Storing patches away from direct sunlight preserves color, while avoiding harsh chemicals helps keep threads vibrant. Regular inspection—especially after laundering or heavy use—ensures patches stay secure and readable, preserving their impact as part of your wardrobe or branding.
Frequently Asked Questions
What are embroidered patches and how can DIY embroidered patches help personalize clothing?
Embroidered patches are textile embellishments sewn onto fabric to create a raised, decorative motif. DIY embroidered patches let you control design, size, and color, making it easy to personalize jackets, bags, and more. Start with stable fabric, the right backing, and a simple iron-on or sew-on method for durable results.
What are patch design ideas for creating standout custom patches?
Patch design ideas for embroidered patches include monochrome motifs, minimalist logos, retro badges, witty quotes, travel or nature imagery, and custom shapes. When building custom patches, consider legibility, border style (merrow or satin), and color contrast so they read well on varied garments.
What are machine embroidery patches and how do they differ from other patch types?
Machine embroidery patches are created on an embroidery machine, delivering precise stitching and a professional finish. They typically feature clean borders and strong corners, and can be iron-on, sew-on, or adhesive-backed depending on your project.
How to apply embroidered patches: a simple guide to how to apply embroidered patches
Choose your method—iron-on, sew-on, or adhesive-backed. For iron-on patches, pre-wash the garment, place the patch, press with a hot dry iron for 20–30 seconds, and let it cool. For sew-on patches, stitch around the edge with a tight zigzag or satin stitch. Always follow the patch’s backing instructions.
Where can I source custom patches or opt for DIY embroidered patches?
Source custom patches from patch designers or retailers to get production-ready options, or make your own with DIY embroidered patches at home. If you’re designing patches for a group or brand, provide a style guide (font, color, border) to ensure a cohesive look.
What care and maintenance help embroidered patches stay vibrant and secure?
Care and maintenance: turn garments inside out and wash on a gentle cycle; avoid high heat to protect patches. Air-dry when possible, or use low heat. If patches lift, resew or reapply; store patches away from direct sunlight to prevent color fading.
| Aspect | Key Points | Notes / Examples |
|---|---|---|
| What are Embroidered Patches and Why They Matter | Textile embellishments stitched onto fabric; can be sewn or ironed; often feature a merrow or satin-edged border; versatile for logos, motifs, or quotes; durable and flexible; easy to swap or reposition. | Used to convey identity or style across wardrobes; durable enough for regular wear and washing. |
| Core Benefits | Personalization at a glance; durability and washability; cost-effective updates; versatility across fabrics; easy customization for groups. | A few patches can refresh a garment; patches work on denim, leather, canvas, knitwear, and more. |
| Types and Options | Iron-on, sew-on, heat-activated/self-adhesive, and machine embroidery patches; edge options include merrow edges and satin edges. | Choose according to ease of application and desired look (bold border vs subtle edge). |
| Patch Design Ideas | Monochrome motifs; funny or quote patches; minimalist logos; retro badges; pop-culture mashups; travel and nature motifs; custom shapes and embroidery techniques. | Designs should align with garment color and audience; variety supports different styles. |
| DIY Creation or Sourcing | DIY steps: planning, backing, embroidery options (home or hand), thread choices, finishing, and branding; or source from retailers/patch designers for production-ready options. | DIY offers control; sourcing speeds up production for wardrobes or brands. |
| How to Apply and Care | Apply via iron-on, sew-on, or adhesive-backed methods; prewash garment; follow steps to adhere or stitch; care includes gentle washing, low heat drying, and resecuring patches as needed. | Patches last longer with proper prep and care; avoid high heat that can relax adhesives. |
| Placement and Sizing Tips | Scale patches to garment size; place on left chest, sleeves, or back yoke; balance color and density; consider clustering for visual impact. | Good placement enhances readability and style cohesion. |
| Branding, Community, and Growth | Patches can be a branding tool, enable small-batch drops, collaborations, or membership perks; usable for events, merchandise, and communities. | Ideal for brands and communities to build identity and loyalty. |