
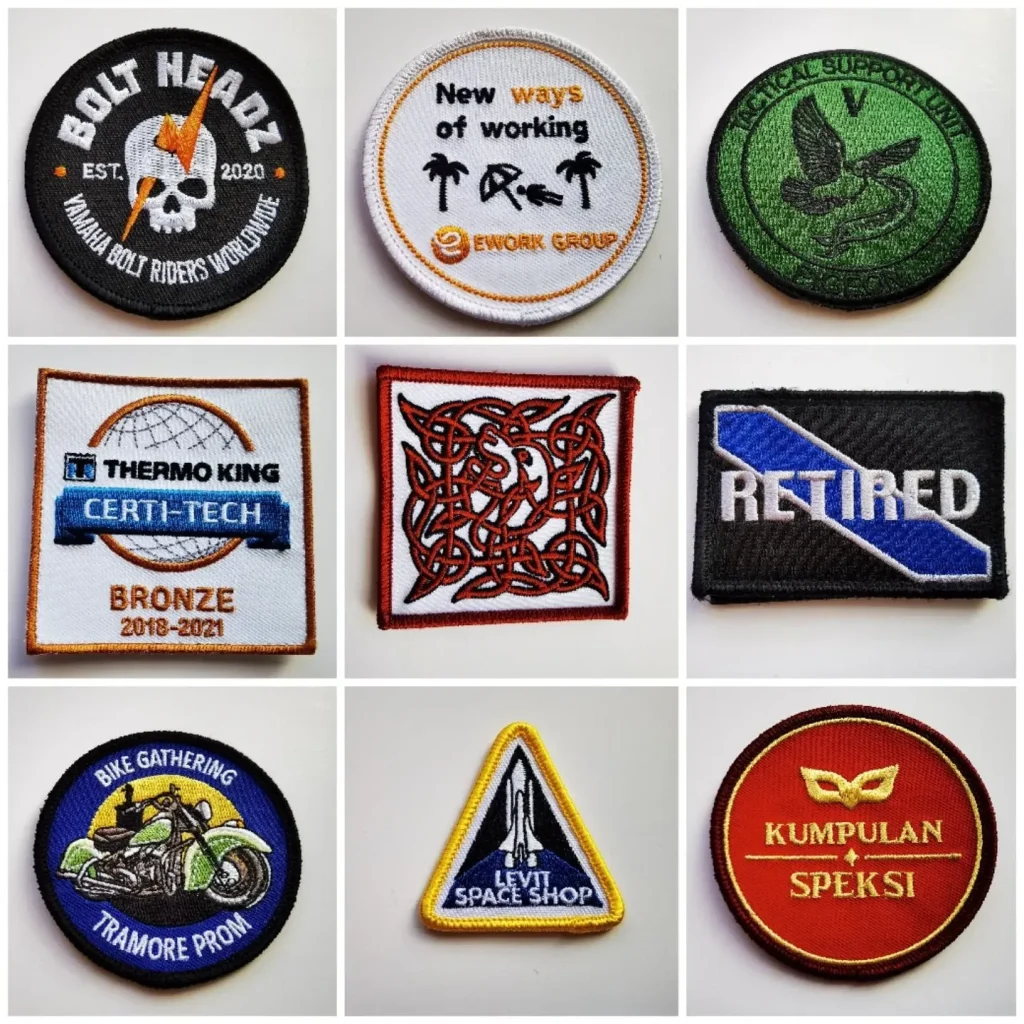
Custom embroidered patches have exploded from niche crafts into everyday style, giving you an easy way to personalize garments and accessories. From denim jackets to tote bags, these embellishments tell a story and add texture, color, and personality. If you’re looking for inspiration, explore embroidery patches ideas and practical tips for applying patches on accessories. This guide also covers how to apply embroidered patches and custom patches on jackets and other surfaces, plus best practices for durability. With simple steps, affordable options, and care tips, you can craft a wardrobe that speaks to your hobbies and taste, including DIY embroidered patches.
Viewed through an LSI lens, these decorative fabric badges—also known as fabric appliqués or textile emblems—offer a subtle way to personalize coats, bags, and other textiles. Think of the idea as sewn-on art, with embroidered marks, decorative emblems, or patches serving as collectable accents. Other related terms—badges, patches, appliqués, and textile patches—highlight the same concept of wearable customization. Using this semantic variation helps creators and readers find ideas across jackets, hats, and bags without getting stuck on one label. As you experiment, mix terms and visuals to describe your look, from quilted appliqués to bold logo emblems, ensuring your message stays clear.
Patches on Accessories: Style and Placement Tips
Accessories offer an ideal canvas for patches, making “patches on accessories” a quick route to personalized style. Start with everyday items like hats, bags, belts, and small leather goods, then experiment with placement to create a focal point or a playful collage. The simple act of selecting a standout patch against a neutral base can transform an ordinary accessory into a signature detail.
When planning placements, balance is key. Size variety, odd-number arrangements, and contrasting shapes can create visual interest without overwhelming the accessory’s original design. This approach aligns with embroidery patches ideas that emphasize story, balance, and thoughtful composition rather than sheer quantity.
To refine the look, consider color harmony and texture. A bright patch on a neutral bag or hat draws attention, while a cohesive color family can tie multiple patches together for a polished, curated effect.
Custom Patches on Jackets: Denim, Leather, and Beyond
Outerwear provides a larger canvas for personal expression, making custom patches on jackets a popular choice. Denim jackets welcome bold centerpiece patches on the back, complemented by smaller accents on sleeves or chest to tell a personal narrative through design. Leather and suede benefit from leather-friendly backing and stabilizers that prevent stretching and cracking over time.
Layering patches on outerwear lets you express multiple ideas at once, turning your jacket into a mini-gallery. Mix contemporary motifs with vintage designs to achieve a timeless, eclectic vibe, and rotate patches across jackets to refresh looks without buying new patches. The goal is a balanced mix of statement and subtle designs so the garment remains versatile for daily wear.
As you assemble patches for jackets, consider the fabric’s texture and the stitching style to ensure durability. Thoughtful backing choices and careful placement help ensure longevity, even with frequent wear and washing.
Embroidery Patches Ideas That Spark Creativity
Embroidery patches ideas are vast and limited mainly by imagination. Start with a mood—nostalgic, futuristic, whimsical, or minimalist—and search for patches that reflect that vibe. Nature-inspired patches can complement earthy tones on canvas bags, while retro logos pair beautifully with denim and sneakers.
Tell a story with your patch selection by choosing themes like travel, music, or quirky icons for totes and backpacks. Mood boards or Pinterest inspiration can be practical starting points for selecting embroidery patches ideas that feel cohesive and expressive.
Practical ideas include combining text with imagery, using patches to cover small flaws, or creating color-blocked layouts on a backpack. Experiment with borders, shapes (shields, crescents, geometric blocks), and finishes to push the aesthetic further.
How to Apply Embroidered Patches: Step-by-Step Methods
Learning how to apply embroidered patches safely and effectively opens up many styling possibilities. There are several methods, including sew-on, iron-on, and fabric glue, each with distinct advantages depending on fabric type and garment care. For durability on jackets and bags, sew-on patches generally offer longer-lasting results.
Option 1: Sew-On Patches (Recommended for Longevity) describes precise stitching around the edges to secure the patch for the garment’s lifetime. Option 2: Iron-On Patches enables a quick initial placement, best for testing layouts before committing to stitches. Option 3: Fabric Glue provides a temporary or light-duty alternative when you need a fast, removable solution.
Selecting the right method requires considering fabric type, wash frequency, and care instructions. Always follow patch manufacturer recommendations and reinforce high-wear areas with additional stitching if needed to avoid peeling or lifting.
DIY Embroidered Patches: From Idea to Real Patch
DIY embroidered patches empower you to control size, shape, color, and design, turning a concept into wearable art. Start by sketching ideas on paper or using design software, then translate that idea into a patch through hand embroidery, machine work, or a mix of applique.
A practical DIY approach begins with choosing a fabric base and stabilizer to prevent distortion during sewing. For delicate fabrics (satin, chiffon), use lighter stabilizers and smaller stitches; for heavier fabrics (denim, canvas), employ larger stitches and sturdier backing.
Patches on outerwear and accessories offer ideal opportunities to practice DIY skills, from nature motifs to graffiti-inspired lettering. Experiment with patch sizes, textures, and thread colors to achieve a cohesive yet personal look.
Care, Maintenance, and Longevity of Custom Embroidered Patches
To keep patches vibrant and secure, follow care guidelines that protect embroidery threads and fabric integrity. Wash items inside out in cold water and avoid high-heat drying, which can weaken adhesives and cause patches to lift. For frequently washed garments, a quick retouch with a few stitches around patch edges can extend life.
For iron-on patches, avoid repeated high-heat cycles and test adhesion after washing. If a patch starts to peel, reinforce from the backside with a few stitches rather than replacing the patch. Reinforcement helps maintain a neat appearance and prolongs the life of your custom embroidered patches.
When you invest in patches, use care practices that align with fabric type and patch backing. Following manufacturer instructions and performing light maintenance can keep patches looking fresh across seasons.
Frequently Asked Questions
What are some embroidery patches ideas for using custom embroidered patches on jackets and accessories?
Define a mood (nostalgic, whimsical, minimalist) and browse embroidery patches ideas that fit that vibe—nature motifs, retro logos, travel themes, or quirky icons. Pair patches with a limited color palette and tell a simple story across your jacket or bag to maximize impact. With custom embroidered patches, you can curate a cohesive look that expresses your personality.
Where should I place patches on accessories when using custom embroidered patches, and how can I style them for best impact?
Accessories like hats, bags, belts, and small leather goods are ideal canvases for custom embroidered patches. Start with one bold patch on a hat or a cluster of patches on a bag for a collage effect. Keep color harmony by matching or contrasting the patch colors with the accessory, and use odd-numbered patch groups to create balance. When using patches on accessories, let the patch choice tell a story about your style.
How to apply embroidered patches: what methods work best for longevity when using custom patches on jackets?
Sew-on patches are the longest lasting method and are recommended for jackets. Iron-on patches are convenient for quick testing and temporary layouts. For most durable results, sew the patch around its edges with a running stitch or small whip stitch and secure corners. If you test iron-on, follow heat settings and allow to cool; for a tighter hold, add a few stitches on the back.
What should I know about DIY embroidered patches and applying DIY patches to jackets and other items?
DIY embroidered patches give you control over size, shape, and color. Start with a fabric base and stabilizer to prevent distortion, choose stitch length suitable to the fabric, and practice on scrap first. For delicate fabrics use lighter stabilizers and smaller stitches; for denim or canvas use heavier backing and larger stitches. When applying on jackets and accessories, mix patch sizes and finishes to build a cohesive look with DIY embroidered patches.
How do I care for custom embroidered patches to maximize their lifespan?
Follow care guidelines to protect embroidery threads and fabric. Wash items inside out in cold water and avoid high heat drying. If patches lift after washing, reinforce with a few stitches on the backside. For iron-on patches, avoid repeated high heat cycles and consider sewing for long wear. With proper care, your custom embroidered patches stay vibrant longer.
Where to source quality custom patches and what to look for when choosing custom embroidered patches for jackets and accessories?
Start with a clear design brief and budget. Look for suppliers offering backing options (iron-on, sew-on, glue) and fabric choices that suit your garments. Request proofs or sample patches to verify color accuracy and embroidery density before a larger order. For variety, explore patch bundles or collaborate with artists who can translate your ideas into high quality embroidery patches for jackets, hats, bags, and more.
| Topic | Key Points | Notes/Examples |
|---|---|---|
| Why patches | Personalize garments, tell a story, and keep things affordable; patches have moved from niche craft to mainstream fashion. | Patches enable self-expression and storytelling through embroidery. |
| Best placement | Accessories offer easy swapability and lighter canvases; outerwear provides larger surfaces. | Hats, bags, belts on accessories; denim, leather, or canvas jackets on outerwear. |
| Placement strategies | Use color harmony, focal points, and balance; mix sizes and shapes for visual interest. | Odd-numbered patch sizes; frame patches with stitches or echoes of fabric texture. |
| Design ideas | Define mood and tell stories with patches; combine text and imagery; mix vintage and modern motifs. | Mood boards help curate cohesive embroidery patches ideas. |
| How to apply | Three main methods: sew-on (durable), iron-on (quick test), fabric glue (temporary). | Choose method based on fabric and garment care; consider longevity vs. ease. |
| Durability and care | Follow manufacturer backing instructions; reinforce high-wear areas; wash cold; avoid high heat. | Reinforce patches with extra stitches if needed. |
| DIY patches | DIY patches give control over size, shape, color, and design; stabilizers and fabric choice matter. | Heavier fabrics allow larger stitches; delicate fabrics require lighter stabilizers. |
| Sourcing | Clear design brief, backing options, proofs, and bundle options help start strong. | Collaborate with artists or patch makers for unique designs. |