
DIY DTF Transfers are a game-changer for hobbyists and small studios seeking professional-looking apparel without a large shop. This accessible method aligns with DIY fabric printing, offering flexible workflows and cost savings. In this guide, you’ll learn how to set up a capable home studio printing workflow, master DTF transfer techniques, and achieve results that rival commercial print shops. From designing custom t-shirts for local events to launching a small online shop, this DTF transfers approach keeps color accuracy, design placement, and substrate variety under your control. With the right tools, including a heat press for DTF, you can optimize your home studio printing and consistently produce high-quality prints.
For readers new to this approach, think of it as direct-to-film printing for textiles, a film-backed method that transfers bold designs onto fabrics. In practice, you design digitally, print onto a specialized film, apply an adhesive powder, cure it, and press the image onto cotton, blends, or synthetics. This process sits under the umbrella of heat press based garment decoration and is well suited for home studios. Framing it as home studio printing, small businesses and hobbyists can iterate rapidly, control costs, and tailor products for clubs, events, or online storefronts through DTF transfers. Key tips include color management, test prints on similar fabrics, and proper ventilation and safety when handling powders.
Creating a Functional Home Studio: Layout and Safety for DTF Printing
A well-planned space is the foundation of successful home studio printing. For DTF transfers, dedicate a clean, organized area that can accommodate your printer, a reliable heat press, a curing device, and a small worktable for pre-press tasks. Stable lighting and proper ventilation help maintain color accuracy and reduce fatigue during long sessions, making the workflow smoother and more repeatable for DIY fabric printing.
Safety and organization matter as much as the tools themselves. Use a heat-resistant mat under the transfer area, wear a dust mask when handling powders, and store powders, inks, and films in labeled, sealed containers. By keeping the workspace tidy and separating each material type, you support consistent results and scale your home studio printing efforts with less risk of cross-contamination.
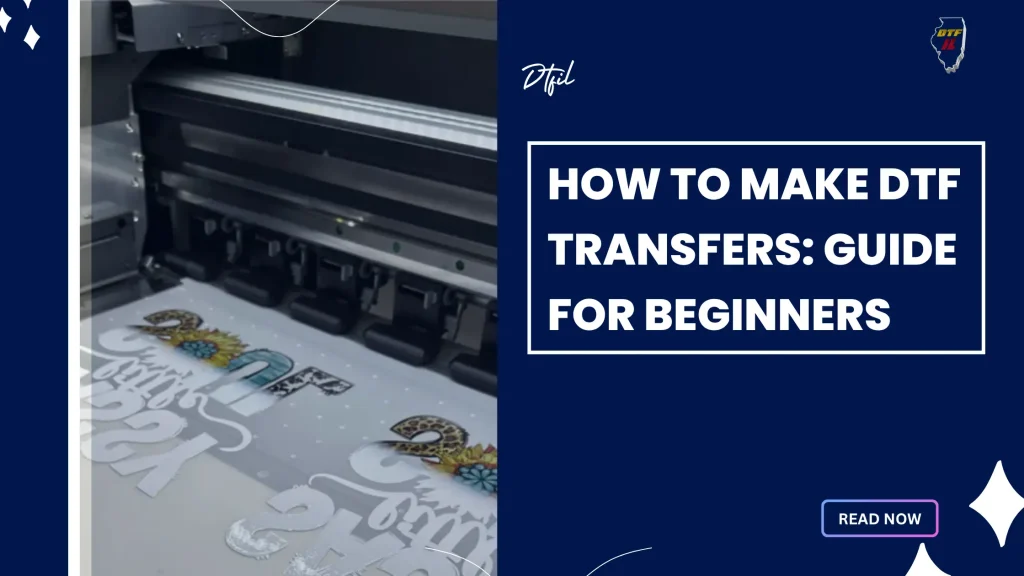
DTF Transfer Techniques Explained: From Design to Durable Prints
DTF transfer techniques begin with digital design, followed by film printing, powder application, curing, and a heat press transfer to fabric. When done correctly, this process yields vibrant color, strong adhesion, and good wash durability across a variety of fabrics, from cotton to blends and select synthetics.
To achieve consistent results, emphasize precise color management, even powder distribution, and controlled heat and pressure during the final press. Fine-tuning these elements helps prevent ghosting and edge defects and makes it easier to reproduce reliable results in a home studio setting. Consider the nuances of the heat press for DTF and how platen temperature, dwell time, and pressure influence your finishes.
DIY Fabric Printing with DTF: Tools, Materials, and Setup
A practical DIY setup starts with the right toolkit: a printer capable of white ink or a compatible workflow for color-on-film printing, DTF transfer film, adhesive powder, and a heat press with adjustable time and temperature. Add pre-press surfaces, t-shirt boards, and software with solid color profiles to support accurate reproduction in home studio printing.
Outline a straightforward five-phase workflow: design and color setup, print on transfer film, apply and cure adhesive powder, pre-press the garment, and press to transfer. Sticking to these steps helps minimize waste and keeps results steady across multiple runs of DIY fabric printing projects.
DIY DTF Transfers in Action: Achieving Professional-Look Garments at Home
DIY DTF Transfers in Action demonstrates what a well-managed home workflow can deliver: professional-looking garments produced on demand with careful attention to color matching, substrate choice, and press conditions. Plan for white underbase on dark fabrics when needed and ensure even pressure across the transfer area to maximize durability.
In real-world use, this approach supports small shops and hobbyists alike—designing for events, clubs, schools, or online sales with rapid iteration and minimal inventory. A robust home studio printing workflow paired with reliable heat press handling makes each run predictable and scalable from design to finished garment.
Color Management and Quality Control in Home Studio Printing
Color management and quality control are central to consistent results in home studio printing. Align on-screen colors with the transfer film and then with the fabric using ICC profiles and printer calibration. Tracking color accuracy across equipment and media ensures that what you see on screen translates to the finished product.
When issues arise, address common signals like color shifts, ghosting, or adhesion problems by revisiting ink density, underbase planning for dark fabrics, and powder distribution. Calibrate heat time and temperature, verify even pressure across the transfer area, and run test prints on similar fabrics to minimize rework and protect the integrity of your DTF transfers.
Troubleshooting, Maintenance, and Advanced Tips for Durable DTF Prints
Maintenance and proactive optimization keep your DTF workflow reliable as you scale. Regularly inspect the platen, clean film residue, and verify the powder distribution tools to maintain a smooth, consistent finish. Fine-tuning print density and curing routines helps preserve durability, wash-fastness, and edge definition across batches.
Advanced tips focus on consistency and experimentation. Use calibrated timers and stable temperatures, test on the exact fabrics you plan to use, and gradually expand substrate options beyond cotton to blends and synthetics. Pair these practices with thoughtful post-press finishing to elevate DIY DTF transfers toward professional levels while keeping home studio printing accessible.
Frequently Asked Questions
What is DIY DTF Transfers and how can I set up a home studio printing space for DTF transfer techniques?
DIY DTF Transfers involve printing designs on a specialized film, coating with adhesive powder, curing, and then transferring the image to fabric with heat and pressure. For a home studio printing setup, create a clean, ventilated workspace and invest in a printer capable of handling white ink if needed, DTF transfer film, adhesive powder, a calibrated heat press for DTF, a curing device or oven, and reliable color-management software. With a consistent workflow and controlled conditions, you can achieve professional results in a compact space.
What equipment and materials do I need for DIY fabric printing with DTF transfers using a heat press for DTF?
Core gear includes a color-managed printer (with white ink capability or an approved workflow for color-on-film), DTF transfer film and adhesive powder, a heat press with adjustable time and temperature, pre-press surfaces and t-shirt boards, design software with accurate color profiles, a curing device or oven, a powder shaker or small scale, and protective sheets for the press. These essentials support a reliable DIY fabric printing workflow.
How do I optimize color accuracy and underbase in DIY DTF transfers for reliable home studio printing?
Prioritize color accuracy by planning a white underbase when needed and using ICC color profiles to align screen colors with the transfer film. Regular printer calibration, testing on similar fabrics, and verifying film compatibility are key. Fine-tune ink density, underbase strategy, and ensure consistent powder distribution and curing to maintain bright colors on diverse substrates.
What are the key steps in the step-by-step workflow for DIY DTF transfers in a home studio printing setup?
Key steps: design and color setup; print on transfer film (including white underbase if required); apply and cure adhesive powder; pre-press the garment; position the transfer and press with the correct temperature and pressure; allow to cool and finish (and perform touch-ups if needed). Following these stages helps ensure consistent and high-quality results in home studio printing.
What common issues might arise with DTF transfer techniques in a DIY setup and how can I troubleshoot in home studio printing?
Common issues include color shifts or ghosting, poor adhesion, powder clumping, misalignment, and edge cracking. Troubleshoot by adjusting ink density and underbase planning, ensuring even powder distribution and proper curing time/temperature, calibrating heat and pressure across the platen, and running test prints on fabrics similar to the final product to refine the workflow.
What applications or business opportunities exist for DIY DTF Transfers in home studio printing?
DIY DTF transfers enable small studios and hobbyists to offer custom apparel, on-demand designs for events, clubs, schools, or fundraising, and quick iterations for an online shop. The home studio printing approach provides flexibility, cost savings, and creative control, making it feasible to scale as demand grows while maintaining a personal touch with each print.
| Topic | Key Points |
|---|---|
| Introduction | DIY DTF Transfers enable small studios and DIYers to produce professional-looking apparel at home; offers flexibility, cost savings, and creative control; guides from design to finished garment. |
| What are DTF Transfers? | Direct-to-film workflow: print onto film, coat with bonding powder, cure, and transfer with heat; yields vibrant color, good wash durability, and compatibility with many fabrics (cotton, blends, some synthetics). |
| Core Concepts | Design digitally, white underlays when needed, apply adhesive powder, cure, and press onto garment; precise control of color, powder distribution, and press conditions to avoid ghosting and adhesion issues. |
| Home Studio Setup | Clean, organized, ventilated space with stable lighting; room for printer, heat press, films, powders; safety measures like heat mats and sealed powders; maintain a consistent environment. |
| Tools, Materials, and Workflow | Printer with color management and white ink options; DTF film and adhesive powder; heat press; pre-press surfaces; design software; powder handling tools; five phases: design/color setup, print on film, apply and cure powder, pre-press garment, press to transfer. |
| Step-by-Step Workflow | 1) Design and color setup; 2) Print on transfer film; 3) Apply adhesive powder; 4) Cure the powder; 5) Pre-press the garment; 6) Position and press; 7) Cooling and finishing. |
| Color Management and Troubleshooting | Monitor color mapping from screen to film to fabric; fixes include adjusting ink density/underbase, powder distribution, heat time and temperature, and ensuring even pressure; run tests on similar fabrics. |
| Advanced Tips | Maintain consistent heat press setup, invest in color matching, optimize post-press finishing, and vary substrates to discover fabrics that perform best. |
| Applications and Real-World Use Cases | Small businesses and hobbyists can launch custom apparel lines, run limited events, and enable on-demand production with minimal inventory and rapid design iterations. |
Summary
HTML Table of DIY DTF Transfers Key Points