
DTF transfers have quietly become a game changer for designers who want to print their own tees. This approach, also known as direct-to-film printing, blends vibrant color, durability, and flexibility for a wide range of fabrics. For beginners and small businesses, DTF transfers offer a streamlined workflow that avoids heavy upfront costs and complex screens. In this beginner-friendly guide, you will learn what DTF transfers are, how the DTF transfer process works, and how to get printed tees with DTF that stand up to washing. Whether you are weighing DTF vs screen printing or exploring color-rich options, this overview helps you start with confidence.
Beyond the jargon, the film-based garment decoration method is favored for color-rich designs on a range of fabrics. Known in industry channels as a print-on-film workflow, it starts with printing onto a PET film and ends with heat-pressing a bonded layer onto the garment. Because it scales from single items to small runs, designers enjoy flexibility and faster turnaround than traditional screen printing. As you compare options like direct-to-film printing, the adhesive layer, texture, and wash durability become your decision criteria. Ultimately, many crafters pursue this approach for printed tees with DTF-like appeal, without the need for complicated screen setups.
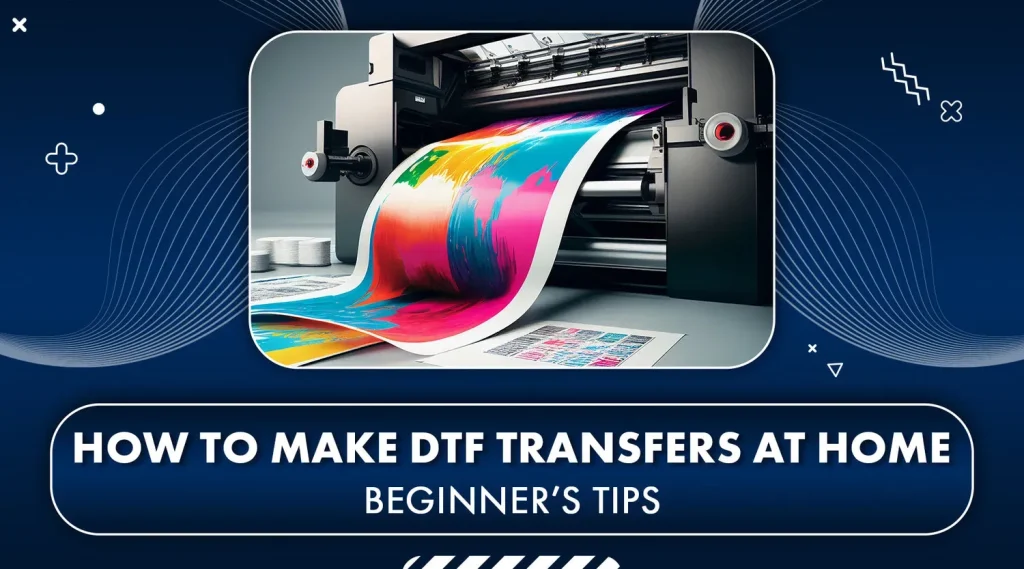
Understanding DTF Transfers: What They Are and How They Work
DTF transfers are a direct-to-film printing method that lets you move full-color designs onto fabrics by printing onto a PET film with a white underbase and color layers, then applying adhesive powder and heat pressing. In practice, the result is a fully integrated image that sits on the surface of the fabric, delivering bright colors, sharp detail, and flexibility across a range of fabrics, including cotton and polyester blends. This approach is often described as direct-to-film printing because the design travels from a digital file to film to garment, with the adhesive layer ensuring solid adhesion.
For many creators, DTF transfers offer a balance of high color fidelity and versatility without the heavy upfront investment of other methods. This overview highlights the core steps of the DTF transfer process and why many makers choose to print tees with DTF for both small runs and customized orders. Whether you’re starting out or expanding a line, understanding the basics helps you plan your workflow and anticipate common questions about finish, durability, and feel.
DTF Transfers for Beginners: A Starter Guide to Gear, Materials, and Setup
DTF transfers for beginners can be approachable when you start with the essentials: a reliable heat press, PET film designed for DTF, a white underbase ink, color inks, and a fine adhesive powder. Having these components on hand helps you safely test full-color designs, gradients, and fine lines on a range of fabrics. You’ll also want access to clear guidelines from your film and ink suppliers to ensure your first prints meet quality expectations.
A beginner-friendly setup includes workspace organization, dust-free handling to avoid powder contamination, and a simple workflow to practice color separation and curing. Start with scrap fabric to dial in temperature, dwell time, and peel method, and keep a log of your settings so you can reproduce successful results for future printed tees with DTF.
DTF vs Screen Printing: Which Path Fits Your Small Business?
DTF vs screen printing presents a trade-off between flexibility and scalability. For small runs and intricate designs, DTF transfers offer the advantage of full color without screen setup, enabling quicker turnarounds and easier edits. The ability to reproduce gradients and photo-like images makes DTF particularly appealing for niche, customized designs on printed tees with DTF.
Screen printing can excel in long runs where the cost per unit drops with volume and the hand feels softer on the fabric. If you anticipate high-volume orders or very large batches, screen printing may still be worth considering for certain designs, but DTF transfers provide a compelling balance for startups, makers, and small brands aiming for rapid testing and diversification.
The DTF Transfer Process: A Practical, Step-by-Step Guide
This practical guide follows the core steps of turning a digital design into a wearable print. Begin with preparing your design and color workflow, ensuring a high-resolution image with a clearly planned white underbase that will help colors pop on dark fabrics. Save the file in a printer-compatible format and verify the color profile to preserve accuracy during direct-to-film printing.
Next, print the design onto PET film with the white layer first, then color layers as needed. Apply an even layer of adhesive powder, cure the powder to fuse it to the film, and preheat the garment to create a smooth pressing surface. Finally, transfer the design onto the garment with the heat press, adjust peel timing, and perform a post-press check to ensure a clean bond across the surface.
Designing for DTF: Tips for Vibrant, Durable Printed Tees
Designing for DTF requires attention to white underbase, color separation, and image resolution to maximize vibrancy on various fabrics. When planning your artwork, consider how gradients will render on both light and dark garments and how the final peel method may affect edge sharpness. This is especially important for printed tees with DTF, where color fidelity and edge definition influence perceived quality.
Beyond artwork, choose fabrics that respond well to the DTF adhesive and film—cotton, poly blends, and performance fabrics all work, but results can vary. Prepare color palettes that maintain balance after underbase processing, and keep your file formats and color profiles consistent to minimize shifts during direct-to-film printing, printing, and transfer.
Troubleshooting and Best Practices for Consistent DTF Results
Common issues in DTF workflows include uneven powder coating, incomplete curing, misalignment, and browning or hazing after transfer. These challenges can be mitigated by ensuring a clean, dust-free work area, applying a uniform powder coat, and adhering to manufacturer-recommended temperatures and dwell times. Regularly inspecting the film and ink compatibility helps prevent adhesion gaps that affect durability.
To build reliability, test prints on scrap fabric before final production, log all settings for different fabrics, and perform post-press checks such as careful peeling and a brief cool-down. Routine maintenance of the heat press and a clean workspace reduce the risk of contamination and improve consistency across batches of printed tees with DTF.
Frequently Asked Questions
What is direct-to-film printing and how do DTF transfers work?
Direct-to-film printing, or DTF, is a method that prints a design onto a PET film with a white underbase and color layers. The printed film is then coated with an adhesive powder, cured, and heat pressed onto a garment. DTF transfers deliver bright colors, fine detail, and good fabric compatibility across cotton, polyester blends, and other common tees.
DTF transfers for beginners: what are the essential steps in the DTF transfer process?
Key steps in the DTF transfer process for beginners include design prep with a white underbase in mind, printing onto PET film with the white base first followed by color layers, applying and curing adhesive powder, preheating the garment, transferring with a heat press at the recommended temperature and time (typically around 160–170 C for 12–20 seconds), and finishing with a proper peel and post-press care.
DTF vs screen printing: when should you choose DTF transfers over traditional screen printing?
DTF transfers are often preferred for small runs and complex full-color designs because there is no screen setup. They offer fast turnarounds and work well on many fabrics, but the per-unit cost can be higher for large runs and the finished feel can be slightly firmer than high-quality screen prints.
Which fabrics work best for printed tees with DTF?
Printed tees with DTF work well on cotton, polyester blends, and athletic or fashion fabrics. The DTF adhesive film bonds to a wide range of materials, but always verify compatibility with your specific film and ink brand and follow care guidelines to preserve vibrancy.
What are common mistakes to avoid in DTF transfers and how can I troubleshoot?
Common mistakes include uneven powder coating, inadequate curing, misalignment, and over or under pressing. Troubleshoot by ensuring even powder application, following curing times and temperatures, using alignment guides, testing on scrap fabric, and iterating settings for different fabrics.
What equipment and materials do I need to start with DTF transfers?
To start with DTF transfers you need a heat press and a DTF capable printer with PET film, white underbase ink and color inks, adhesive powder, a curing method, preheating capability, protective sheets, and design software. Always follow manufacturer guidelines for temperatures and times.
| Topic | Key Points |
|---|---|
| Introduction | DTF transfers enable designers and hobbyists to design and print tees with cost-effective, high-quality results. The base content introduces DTF transfers, outlines what they are, the direct-to-film method, essential steps, required gear, troubleshooting, and how to start confidently. |
| What are DTF Transfers? | Direct-to-film transfers involve printing a design on PET film with a white underbase and color layers, applying an adhesive powder, curing it, and heat-pressing the image onto fabric. The result is bright colors, fine detail, and good fabric compatibility across cotton, blends, and athletic/fashion tees. |
| Why Choose DTF Transfers? | DTF offers full-color capabilities without screen setup, supports small batches and one-offs, and bonds well to a variety of fabrics. Tradeoffs include a firmer feel compared to DTG and higher unit cost for very large runs. |
| The DTF Transfer Process: A Step-By-Step Guide |
|
| DTF Transfers vs Screen Printing: A Quick Comparison | DTF is ideal for small runs with full-color, high-detail images and no screen setup, while screen printing excels in soft hand and lower per-unit costs for large runs. Tradeoffs include potential thicker feel with DTF and higher unit costs for large quantities, plus setup considerations and alignment challenges. |
| Tips for Success with DTF Transfers | Use reliable materials; keep a dust-free workspace; test on scrap fabric; record settings for different fabrics; invest in a quality heat press with even pressure; manage expectations about transfer feel and care. |
| Common Mistakes and How to Avoid Them | Uneven powder coating, inadequate curing, poor alignment, over/under pressing, and skipping garment preheat. Prevent by consistent powder application, proper curing, consistent alignment, following manufacturer temps/times, and preheating garments. |
| A Beginner’s Step-by-Step Recap | Design with white underbase in mind; print on PET film with a DTF-compatible ink; apply and cure adhesive powder; preheat the garment; transfer at recommended temperature/time; peel appropriately; perform post-press care; test on scraps and refine settings for different fabrics. |
| Conclusion | DTF transfers open accessible, high-quality possibilities for printed tees. By understanding the transfer process, selecting compatible materials, and following a tested workflow, you can produce vibrant designs with durable adhesion across a range of fabrics. Whether printing one-off designs or building a small line of tees, DTF transfers offer a flexible, scalable path to creative success. With practice, you will refine your technique, reduce setup time, and deliver consistent results that keep customers coming back for more. |
Summary
HTML table created to summarize the key points of the base content about DTF transfers, followed by a descriptive, SEO-focused conclusion.