
DTF Transfers for Beginners offer a practical path to creating vibrant, durable designs on fabrics without the steep learning curve of some other methods, and DTF Transfers for Beginners are approachable for hobbyists. If you’re new to Direct-to-Film (DTF) printing, this guide helps you understand the essential tools, materials, and step-by-step techniques needed for solid results. You’ll discover how DTF transfer paper, DTF ink and powder, and the fabrics used for DTF transfers influence color, texture, and wash durability. We also cover the DTF design transfer process and how different heat press techniques for DTF can affect adhesion and finish. With clear steps and practical tips, this beginner-friendly overview helps you start confidently and avoid common pitfalls.
From a search perspective, this topic can also be described as direct-to-film printing or film-based transfer technology, which both refer to the same fabric-ready workflow from concept to garment. Think of it as a two-step process: print on a special transfer film, apply adhesive, and press onto the garment to bond the design. Using alternative terms such as film transfer method, textile printing on film, and adhesive powder–assisted transfer helps cover related concepts while staying true to the core idea. By presenting the topic in these related terms, readers and search engines better connect ideas like heat press timing, color layering, and fabric compatibility with DTF.
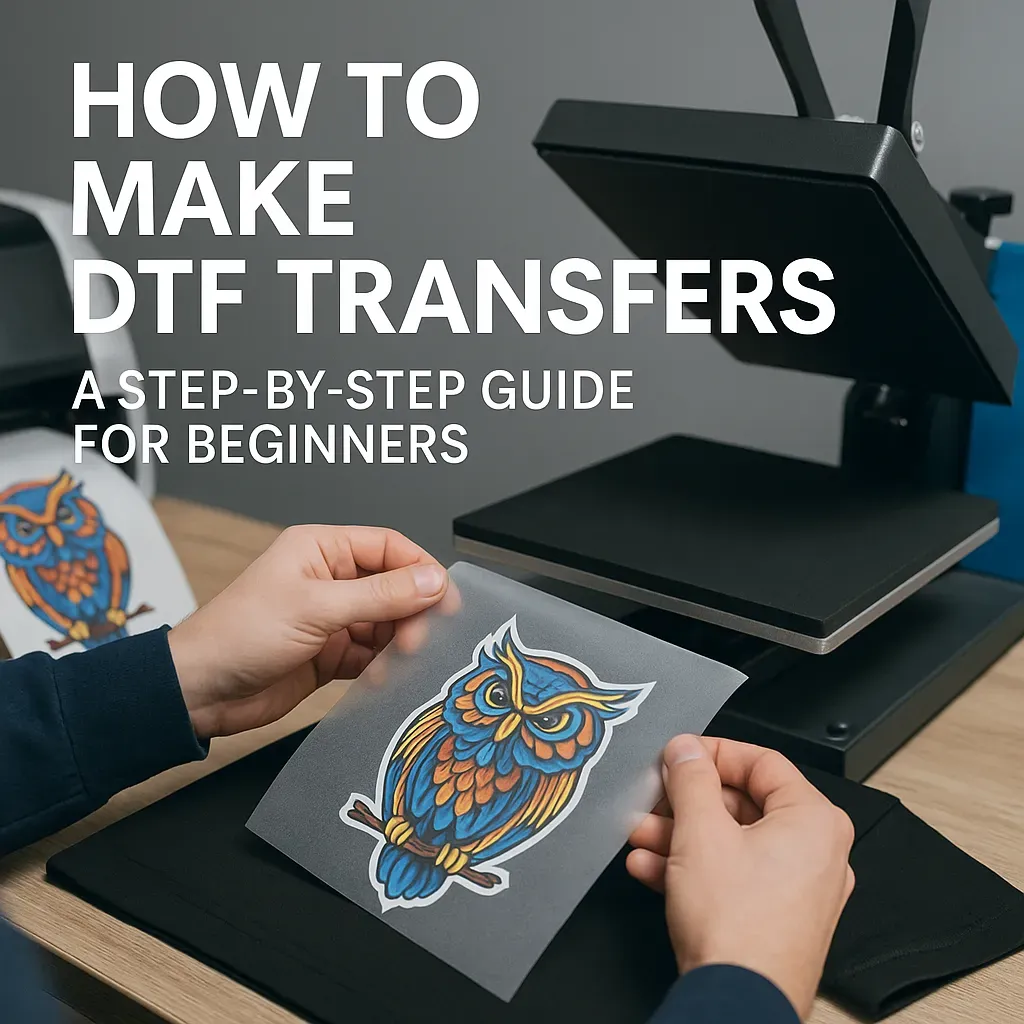
DTF Transfers for Beginners: A Practical Start to Vibrant Fabric Design
DTF transfers for beginners offer a practical path to creating vibrant, durable designs on fabrics without the steep learning curve of more complex methods. The core workflow remains approachable: print onto a film, apply bonding powder, cure, and press the film onto a garment with a heat press. By starting with a simple starter kit and a repeatable process, newcomers can build confidence quickly while leveraging essential tools like DTF transfer paper and DTF ink and powder to achieve sharp, blocking-free images.
As you practice, focus on consistency and fundamentals such as proper alignment, even powder application, and steadiness during pressing. The approachable nature of the method, together with clear steps, allows you to grow from simple designs to more intricate layouts while maintaining a soft hand feel and strong wash durability. Documenting your settings for each project also helps you refine your technique over time and reduce trial-and-error experimentation.
Understanding What DTF Transfers Are and How They Work
DTF transfers involve printing your design onto a special film using dye-based inks, applying an adhesive powder, curing the powder, and then pressing the film onto a garment. The result is a vivid image with a soft feel and excellent wash durability. For beginners, the process is approachable because it combines familiar inkjet printing with a straightforward heat-transfer step, opening up creative possibilities from T-shirts to bags and promotional items.
To understand the fundamentals, visualize the sequence as part of the DTF design transfer process: you print the design with attention to color layering (including a white base where needed), dust with powder, cure, and apply heat to bond the print. Consistency in each stage—printing, curing, and pressing—yields predictable results and helps you troubleshoot common issues early in your learning journey.
Choosing the Right Tools: Paper, Inks, and Powder
A solid starter kit for DTF transfers includes DTF transfer paper, DTF ink and white ink for layering, and adhesive powder. A reliable heat press with adjustable temperature, time, and pressure settings is essential, as is a silicone release sheet or Teflon sheet to protect both the transfer and fabric. Scissors, a lint roller, and a clean workspace round out the basics, helping you execute precise cuts and clean prep steps.
Beyond the basics, select a printer and software that support white ink and multiple color layers, since these improve color depth and accuracy. Understanding heat press techniques for DTF—like optimal dwell time, pressure, and pre-press settings—will help you achieve consistent adhesion across projects. With quality DTF transfer paper and properly calibrated inks, you’ll reproduce vibrant designs with minimal distortion or cracking.
Fabric Picks and Prep: Fabrics for DTF Transfers and Pre-Washing
Choosing the right fabrics for DTF transfers is crucial for durability and appearance. Common choices include 100% cotton, cotton blends, and certain polyester blends that can tolerate the heat and layering involved. Pre-washing the fabric helps reduce shrinkage and improves the bond of the transfer to the material. Testing a small sample first ensures the final result meets your expectations before committing to larger runs.
Fabrics for DTF transfers respond differently to heat and moisture, so consider fiber content and weave when planning designs. A light to medium weight fabric often yields the best balance between color vibrancy and hand feel, while ensuring wash durability across multiple cycles. Documenting fabric types and any pre-treatment steps will help you reproduce consistent results as your projects scale.
Mastering the DTF Design Transfer Process and Color Layering
Mastering the DTF design transfer process starts with thoughtful design planning: separate color layers and a potential white base layer, if your printer requires it. Organize artwork in your design software so that each color prints correctly, and size designs to fit the garment with margins that align to your heat press platen. This careful preparation reduces misalignment and helps achieve crisp edges on every transfer.
During production, manage color management and printer calibration to maintain consistency. Run test prints to verify color accuracy, density, and alignment before committing to production runs. By documenting the printing order of layers and optimizing the sequence, you can reproduce complex designs with the same intensity and fidelity as your sample.
Troubleshooting, Maintenance, and Best Practices for Consistent DTF Results
Even with a solid workflow, challenges can arise. Common issues include incomplete transfers, white specks, or edge peeling. Address these by checking powder distribution, ensuring full contact between film and fabric during pressing, and verifying the curing step is thorough enough to set the adhesive properly. Small adjustments to temperature, pressure, or dwell time often eliminate these problems.
Maintenance is key to long-term success. Regularly clean printer heads and the print path, use high-quality transfer film and powder, and keep your workspace free of dust. Establish a standard operating procedure (SOP) that records your preferred settings for different fabrics and designs, so you can reproduce reliable results with confidence and speed.
Frequently Asked Questions
DTF transfers for beginners: what is the essential starter kit, including DTF transfer paper and DTF ink and powder?
A solid starter kit includes DTF transfer paper, DTF ink (and white ink if needed for color layering), adhesive powder, a heat press, silicone or Teflon sheets, and a few sample garments. Start with 100% cotton or cotton blends to learn the core DTF workflow—design, print, powder, cure, and press—without overwhelming yourself.
DTF design transfer process for beginners: how should I prepare artwork and set up printing?
Begin with your artwork in a graphics program, ensuring color layers and a separate white layer if your printer requires it. Size the design for the garment and save in a high-resolution format. Print a proof on plain paper, then print on DTF transfer paper using the correct color profile and allow it to dry before handling.
DTF transfers for beginners: which fabrics are best for DTF transfers and how should I prep them?
Opt for fabrics that tolerate heat well, typically 100% cotton or cotton blends. Pre-wash the fabric to reduce shrinkage and test the transfer on a sample before committing to a full run. This helps ensure reliable adhesion and wash durability.
DTF transfers for beginners: what are the best heat press techniques for DTF?
Use a pre-press of 3-5 seconds to remove moisture, then press at about 160-170°C (follow your film/powder guidelines) for 15-20 seconds with firm, even pressure. Keep the transfer stationary during pressing and use a release sheet. A second, shorter cooler pass may be needed depending on materials.
DTF ink and powder: how can I troubleshoot common issues in DTF transfers for beginners?
Common issues include incomplete transfer, white specks, or peeling. Ensure the powder is properly cured, dust the printed film evenly, and maintain good contact between the film and fabric during pressing. Calibrate color management and ensure correct white base layering for multi‑color designs.
DTF transfers for beginners: how should I care for garments after using DTF transfer paper?
Allow the garment to cool before washing, then machine or hand wash inside-out according to the care label. Avoid hot tumble drying in the first few washes, and perform a test wash to verify colorfastness and adhesion on your fabric.
| Topic | Key Points |
|---|---|
| What Are DTF Transfers? | DTF transfers involve printing a design onto a special film using dye-based inks, applying bonding powder, curing it, and pressing the film onto a garment. The result is a vivid image with a soft feel and excellent wash durability. For beginners, the process combines familiar inkjet printing with a straightforward heat-transfer step, opening up possibilities from custom t-shirts to hoodies and more. |
| Tools and Materials You’ll Need | DTF transfer paper; DTF ink and white ink; Adhesive powder; Heat press; Silicone/Teflon sheets; Garments (100% cotton or blends); Weighing scale and brushes; Scissors, lint roller, and clean workspace; Design software and printer capable of handling white ink for color layering. |
| Related Materials and Considerations | Cotton, cotton blends, and some polyester blends are common. Pre-wash fabrics to reduce shrinkage and improve adhesion. Use printers optimized for white ink and multi-layer color for better results. |
| Step-by-Step Techniques | 1) Prepare artwork and print settings; 2) Print on DTF film; 3) Apply adhesive powder; 4) Cure the powder; 5) Pre-press the fabric; 6) Align the transfer; 7) Press the transfer; 8) Peel and finish; 9) Post-press care and testing. |
| Tips for Consistent Results | Temperature and pressure matter; powder consistency is important; simple, bold designs often yield cleaner results; plan color layering and maintain printer cleanliness to prevent quality dips. |
| Common Challenges and Troubleshooting | Incomplete transfer due to poor contact or curing; white specks from over-application; peeling edges from improper adhesion or flatness; color misalignment—calibrate color management and ensure proper white base layering. |
| Quality Checks and Maintenance | Check for solid color blocks and even density before powdering; clean printer feed path and heads regularly; use high-quality film and powder for durability across washes. |
| Care, Fabrics, and Applications | DTF transfers work on cotton, blends, and some poly fabrics. Always test on target fabric and document settings (SOP) for consistency. |
Summary
DTF Transfers for Beginners is an approachable entry point to creating vibrant, durable fabric designs, combining familiar inkjet printing with a straightforward heat-transfer process. This table summarizes the essential concepts, tools, steps, tips, and common issues to help newcomers start confidently, select the right equipment, prepare artwork, and troubleshoot. The content underscores how a structured workflow supports consistent, professional results across a variety of fabrics and applications.