
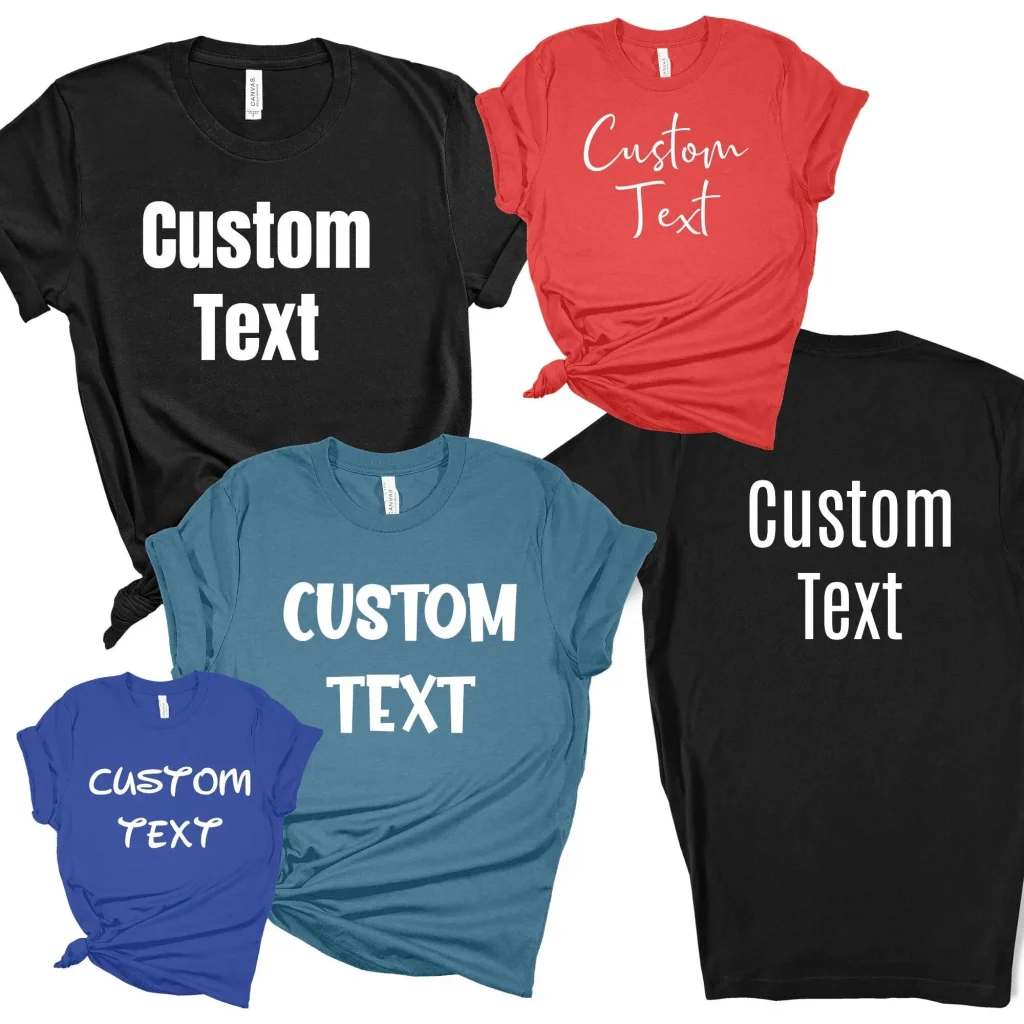
Custom Shirts put you in control of fit, fabric, and finish, turning a simple idea into a wardrobe essential. This guide explores the custom shirts design process, showing how thoughtful design, precise measurements, and quality materials come together. Learn how to design custom shirts with a clear brief, selecting fabrics, creating patterns, and testing prototypes that fit real bodies. The content also weaves in a concise shirt customization guide, plus dedicated sections on fabric selection for custom shirts, custom shirt patterns and fabrics, and how to evaluate swatches. Whether you’re building a personal look or launching a small line, this approachable framework helps you translate vision into a shirt you’ll wear with confidence.
Beyond customization, the idea scales into bespoke shirts and made-to-measure apparel that reflect your exact measurements and personal style. In this framing, fabrics, textures, and craftsmanship become the foundation of fit, with tailored garments offering a refined silhouette. Shirt customization evolves into a collaborative design process where you specify the silhouette, fabric weight, and detailing long before any cut. By embracing terms like bespoke shirts, tailored tops, and custom apparel, you tap into a broader semantic network that supports search relevance and practical understanding.
Custom Shirts Design Process: From Concept to Closet
A great shirt starts with an idea, but the true magic happens when that idea is translated into a wearable piece you can wear with confidence. The Custom Shirts design process centers on clarifying purpose, mood, and performance goals before you touch fabric or pattern. Start by defining who will wear it, the occasions it will cover, and the level of formality you’re aiming for. This foundation makes the rest of the journey clearer and more targeted, helping you translate concept into a practical blueprint for fit, silhouette, and detail.
To master how to design custom shirts, build a simple workflow that mirrors a professional shirt customization guide: collect inspiration in a mood board, select a base silhouette, and map out key decisions like collar type, placket finish, and cuff style. Including terms like the custom shirts design process in your notes keeps your decisions cohesive and traceable, so every design choice—from fabric feel to stitching technique—supports your original concept rather than drifting away from it.
Fabric Selection for Custom Shirts: Balancing Comfort, Durability, and Style
Fabric choice is often the difference between a shirt that lasts and one that loses its shape after a few washes. In fabric selection for custom shirts, consider fiber content, weave, weight, and finish to align with your desired balance of comfort and longevity. A crisp office look benefits from finer yarns and tighter weaves, while weekend wear can lean toward softer hand and more relaxed drape. This decision impacts not just feel but how the shirt behaves over time under daily wear.
As part of the shirt customization guide, build a practical routine for testing fabric swatches: wash them, compare after multiple launderings, and check colorfastness in different lighting. Request samples from suppliers, test shrinkage, and compare swatches against your mood board. By thinking about fabric selection for custom shirts in a structured way, you create a dependable foundation for your custom shirt patterns and fabrics library that scales alongside your design goals.
Pattern Making and Sizing: Crafting Custom Shirt Patterns and Fabrics Fit
Pattern making and sizing decisions are where your concept becomes a tangible garment. Start with a base pattern that matches your target size, then adjust for exact measurements—neck, chest, waist, sleeve length, and bicep. In the world of custom shirt patterns and fabrics, a well-drafted master pattern ensures accuracy across sizes and helps you reproduce the look you defined in the concept stage.
Whether you draft by hand or via digital tools, the key is alignment and movement. The pattern must fit smoothly at seams, allow comfortable range of motion, and provide appropriate seam allowances. Regularly revisit your design brief to ensure the pattern supports the intended use—formality for a dress shirt or ease for a casual option—while keeping fabrication constraints in mind.
Prototype Building and Testing: The Key Steps in How to Design Custom Shirts
With a pattern in hand, cut a test garment from a budget or prototype fabric to evaluate fit, balance, and construction. The prototype phase is a critical checkpoint in how to design custom shirts, revealing collar stand height, cuff width, placket style, sleeve head fullness, and hem finish. Recording adjustments during this phase helps you translate insights into a refined final version and minimizes costly changes later in production.
Run wear tests to assess movement, wrinkle resistance, and color retention under real-world conditions. Document all measurements and modifications so future shirts stay consistent with the original concept. This testing step, aligned with the shirt customization guide, ensures that the garment not only looks right on the hanger but performs well on the body across daily activities.
Construction, Detailing, and Personalization: Turning Patterns into a Wearable Custom Shirt
Construction is where your design takes tangible form. Start with fabric prep, choosing the correct stitch length and reinforcing stress points for durability. The build typically includes staying stitches along critical seams, interlining for collars and cuffs if needed, and precise edge finishes to prevent fraying. The shirt customization guide emphasizes consistency and efficiency—batch processing where possible to ensure uniformity across multiple garments.
Details elevate a custom shirt from ordinary to exceptional. Choose collar types (classic point, spread, or button-down), cuff styles, placket variations, and pocket designs that reflect your concept. Personalization—monograms, contrast stitching, or signature buttons—can add perceived value, but should be tested on prototypes to ensure durability through washing and wear. This stage ties back to the design brief and the patterns you developed, ensuring every decorative choice complements fit and fabric selection.
Quality Control, Fit Feedback, and Iteration in the Custom Shirt Journey
Quality control is essential to delivering a satisfying experience with custom shirts. Implement a standard QC checklist to inspect seams, button alignment, buttonhole accuracy, and fabric surface for snags. A thorough pressing routine should restore crisp lines without creating unwanted shine, and finishing touches—like tissue in the fold and branded packaging—enhance the unboxing experience and reflect the care invested in the garment.
Iterative feedback is the engine of long-term success. Encourage wearers to share notes on fit, comfort, and durability, then use that input to refine patterns and fabric choices. Embrace a cycle of brief, controlled iterations that align with the broader goal of producing high-quality shirts. Whether you’re serving personal style, a brand line, or a small business, this continuous improvement mindset—rooted in the concept of a shirt customization guide—helps you scale from one-off projects to reliable, repeatable outcomes.
Frequently Asked Questions
What is the custom shirts design process and why is it important?
The custom shirts design process guides turning a concept into a wearable garment. It covers concept goals, fabric selection for custom shirts, pattern making, prototype testing, construction, detailing, and quality control to achieve a precise fit and lasting quality.
How to design custom shirts for the best fit and look?
Begin with a clear concept and accurate measurements, then draft a base pattern and select fabrics. The how to design custom shirts approach emphasizes iterative prototyping and testing to refine fit, silhouette, and finishing details.
What is a shirt customization guide and how can I use it?
A shirt customization guide outlines planning, testing, and iteration from idea to finished shirt. It helps align concept, fabric selection for custom shirts, pattern decisions, and finishing touches for consistent results.
How should I approach fabric selection for custom shirts and patterns?
Fabric selection for custom shirts focuses on fiber content, weave, weight, and finish to match the concept. Use custom shirt patterns and fabrics considerations to compare swatches, test shrinkage, and check colorfastness as part of the process.
What role do pattern making and sizing play in custom shirts?
Pattern making translates your concept into a scalable base pattern, then you tailor it to neck, chest, waist, sleeve length, and movement. With custom shirt patterns and fabrics in mind, ensure the pattern aligns with your fabric choice and intended fit through careful testing.
Why is prototyping and testing essential in creating a high-quality custom shirt?
Prototyping reveals fit, balance, and construction issues before final production. Testing collar, cuffs, placket, and seams ensures durability and comfort, aligning with the shirt customization guide to deliver a polished finish from concept to closet.
| Section | Key Point | Impact / Why it matters |
|---|---|---|
| Concept to Closet | A great shirt begins with an idea and becomes a wearable piece through a guided process. | Frames the journey from concept to finished shirt, focusing on fit, fabric, and finishing touches. |
| Why Custom Shirts | Design, precise measurements, and disciplined execution translate vision into a tangible garment. | Offers fit, comfort, and style that off-the-rack options often can’t match. |
| 1) Defining your concept and goals | Create mood boards, define fit, fabrics, detailing, and draft a pattern blueprint. | Guides decisions about collar, cuffs, placket, and overall silhouette. |
| 2) Fabric selection and quality considerations | Assess fiber content, weave, weight, and finish; test swatches and shrinkage. | Directly influenced by feel, durability, care, and alignment with the concept. |
| 3) Pattern making and sizing decisions | Start with a base pattern; tailor for neck, chest, waist, sleeve length, and movement. | Ensures the final shirt matches the desired fit and silhouette. |
| 4) Building and testing the prototype | Cut a test garment from budget fabric; evaluate collar stand, cuffs, placket, and wearability. | Reveals fit and construction issues early, saving time and cost. |
| 5) The construction process | Prepare fabric, set stitch method, manage seam allowances, and finish edges; batch process for consistency. | Turns pattern into a durable, repeatable garment. |
| 6) Detailing, fit adjustments, and personalization | Choose collar/cuff styles, plackets, pockets; consider monograms or unique touches; test durability. | Adds character, value, and potential branding. |
| 7) Quality control, finishing, and packaging | Inspect seams, buttons, and alignment; finish with care; include packaging and care instructions. | Delivers a premium unboxing and reliable performance. |
| 8) Fit, feedback, and iteration | Collect wear notes; refine patterns and fabrics; update the concept brief. | Drives continuous improvement and customer trust. |
| 9) Practical tips for beginners | Start with a simple base, measure carefully, record adjustments, use swatches, and consider sustainability. | Supports confidence, consistency, and efficient workflows. |
| From concept to closet | Emphasizes process as much as product; a well-planned path yields fit, quality, and learning. | Summarizes the end-to-end journey of making custom shirts. |