
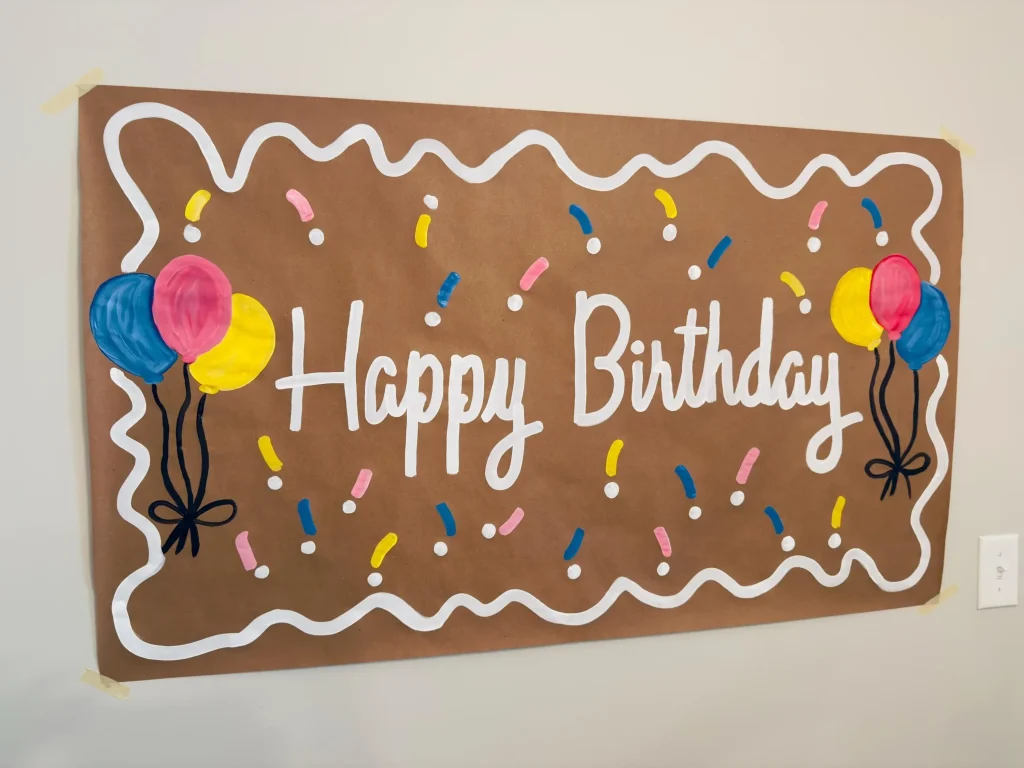
A DIY Custom Banner can transform a simple event into a memorable moment. Whether you are promoting a local sale, a birthday party, or a school project, a well designed banner captures attention quickly and communicates your message clearly. This beginner friendly guide covers banner design basics, DIY banner materials, and a practical beginner banner tutorial to balance readability, aesthetics, and practicality. You’ll also explore custom banner ideas to tailor messages to your event and banner printing tips to ensure color accuracy, proper bleed, and crisp text. By the end, you’ll be ready to craft a banner that looks professional, fits your budget, and makes your message stand out.
If you’re exploring do-it-yourself signage for events, this guide introduces you to handmade, eye-catching options that don’t require a full studio. Think of it as a practical journey in custom sign design, where layout, typography, and color balance help you communicate at both distance and close range. From affordable banner materials to print-ready workflows, this approach emphasizes approachable methods and scalable outcomes. Whether you’re planning a local sale, a school fair, or a personal celebration, the core ideas stay the same: simplicity, contrast, and clear messaging.
DIY Custom Banner: A Beginner’s Guide to Eye-Catching Event Signage
Starting with a DIY Custom Banner gives you direct control over message, tone, and how your event is perceived. This approach keeps costs low while delivering a professional look that commands attention in busy venues. By treating your banner as a compact piece of visual marketing, you can tailor the design to your audience and space.
Even if you are a beginner, you can achieve strong results by following a simple workflow that mirrors a beginner banner tutorial. Focus on a bold headline, high-contrast colors, and a single clear call to action, then plan your layout to maximize readability from a distance.
Essential Banner Design Principles for Clarity and Impact
In banner design, clarity and impact come from a deliberate visual hierarchy. Use a large, bold headline, a limited color palette, and ample white space to guide the viewer’s eye quickly.
Practical tips include choosing two fonts at most, aligning elements on a grid, and testing readability at different viewing distances. These principles help your message stay legible in real-world conditions and translate well across print sizes.
DIY Banner Materials and Tools: What You Need to Get Started
DIY Banner Materials and Tools: What You Need to Get Started. A practical starting kit includes sturdy banner stock or vinyl in your desired size, a computer or tablet with a simple design program, and access to a printer or local print shop for large-format output.
Also gather a straight edge, scissors or a craft knife, cutting mat, grommets or hanging hardware, a consistent color palette, and a print-ready file with proper bleed. When you select your materials, consider indoor versus outdoor use and durability to ensure the banner withstands its display conditions.
Beginner Banner Tutorial: From Concept to Print
Beginner Banner Tutorial: From Concept to Print. Start by defining the banner size and its purpose, then plan a simple layout with a bold headline and essential details.
Next, pick a strong display font and a legible sans serif for the body, apply a high-contrast color scheme, and prepare your artwork at the correct resolution. Finally, create a print-ready file and check for color accuracy and edge trimming before sending to print.
Banner Printing Tips: Color, Resolution, and Finishing for Great Results
Banner Printing Tips: Color, Resolution, and Finishing for Great Results. Premium results rely on correct resolution (300 dpi for most banners) and a proper bleed setup to prevent white edges after trimming.
Manage color with CMYK profiles, run proofs, and verify legibility at distance. Finishing options like lamination and grommets can extend durability for outdoor use and ensure the banner stays taut and crisp.
Creative Custom Banner Ideas for Any Event
Creative Custom Banner Ideas for Any Event. Use custom banner ideas to tailor messages for promotions, sales, community events, or personal milestones, while keeping branding consistent.
Combine bold typography, relevant imagery, and your brand colors to craft eye-catching signage that resonates with your audience. Experiment with layout variations, call-to-action placement, and spacing to maximize impact across different venues.
Frequently Asked Questions
What is a DIY Custom Banner and when should I use it?
A DIY Custom Banner is a self-made banner created with accessible materials to promote events, sales, or messages. It offers cost savings, full control over banner design, and is ideal for birthdays, school projects, local promotions, or any event needing a bold, visible banner. For best results, focus on readability, contrast, and a clear message, and follow DIY banner materials and banner printing tips to ensure quality.
How do I start with a beginner banner tutorial for a DIY Custom Banner?
Start by defining the banner size and purpose, sketch a simple layout, choose one strong headline font and one legible body font, select a high-contrast color scheme, and prepare a print-ready file. This aligns with a beginner banner tutorial approach and helps you balance readability with aesthetics.
What materials do I need for a DIY Custom Banner?
Key DIY banner materials include banner stock or durable vinyl, a computer or tablet with a simple design tool (like Canva), a printer with adequate resolution or access to a local print shop, a straight edge ruler, a craft knife or scissors, a cutting surface, grommets or hanging adhesive, a color palette, and a bleed-ready file (PDF with 0.125 inch bleed).
What are the main banner printing tips for a DIY Custom Banner?
Focus on print quality with 300 dpi or higher, include a 0.125 inch bleed, and export a print-ready PDF or TIFF. Match the color profile to your printer (CMYK), test print for color and legibility, and consider durable vinyl or lamination for outdoor banners.
How can I design a DIY Custom Banner to maximize readability from a distance?
Prioritize a single clear headline, limit to two fonts (headline and body), use high-contrast colors, and use large font sizes. Keep the layout simple, align elements with a grid, and put essential details at eye level to ensure readability from afar.
What common mistakes should beginners avoid with a DIY Custom Banner?
Avoid too much text, low contrast, a busy background, and poor alignment. Also ensure proper bleed and correct file setup, and verify color and print readiness with the printer to prevent surprises.
| Aspect | Key Points | Notes |
|---|---|---|
| Introduction | A DIY Custom Banner can transform a simple event into a memorable moment and is designed for beginners. It aims to clearly communicate your message. | Purpose and scope of the step-by-step guide. |
| Benefits / Why DIY | Cost-effective; full creative control; reusable; bold presence in busy spaces; introduces basic design concepts. | Ideal for beginners; emphasizes clarity and practicality. |
| Materials & Tools | Banner stock or durable vinyl; computer/tablet with a design program; printer or local print shop access; straight edge ruler and cutting tools; hanging hardware (grommets, rope); color palette; bleed; print-ready file (PDF with 0.125 inch bleed). | Plan size and bleed early; tailor list to banner size. |
| Design Basics | Clarity, contrast, and a clean layout are more important than fancy graphics. Focus on readability at distance; choose fonts wisely; ensure high color contrast; maintain visual balance; keep it simple. | Headlines large; two fonts minimum; avoid overly decorative fonts. |
| Step-by-Step Process (1-9) | Step 1–Define size and purpose; Step 2–Plan layout; Step 3–Pick fonts; Step 4–Select color scheme; Step 5–Create artwork; Step 6–Prepare the copy; Step 7–Prepare the file for printing; Step 8–Print and review; Step 9–Finish and mount. | Follow this beginner-friendly workflow. |
| Printing Tips | Use durable materials like vinyl for outdoors; ensure CMYK color matching; test readability at target distance; save backups as PDF; verify bleed and color profiles with the printer. | Outdoor durability: laminated vinyl recommended. |
| Common Mistakes | Too much text; low contrast; overly busy design; poor alignment; missing bleed or incorrect resolution. | Use a grid, maintain margins, and apply the two-font rule. |
| Real World Ideas | Event promotions; sales and promotions; community events; branded signage; personal milestones. | Adapt ideas to the context. |
| Budgeting & Time Management | Plan within a modest budget; design yourself to save on fees; use local or online print services; set a realistic timeline including proofs and delivery; reuse designs for multiple events. | Batching and planning save costs. |
| Conclusion | A DIY Custom Banner can be learned by following these steps to craft banners that communicate clearly and look professional. | Practice and iteration lead to reliable results. |