
Custom Banner and a roll up banner together offer a simple yet powerful way to capture attention in any setting. For fast, impactful messaging at events, openings, or trade show environments, clear captions, bold graphics, and a concise value proposition help you stand out, attract attention, and stay memorable. The setup should be reliable, easy to transport, and visually striking, reinforcing your brand at a glance. This guide explains how to craft and deploy banners that deliver high impact visuals without unnecessary delays, covering materials, color choices, fold-out options, and safe placement. A well planned banner strategy can elevate your message and drive engagement across venues.
Audience-facing signage and promotional banners play a similar role in drawing attention and conveying a clear message across environments. A large-format branded banner offers broad real estate for branding, while compact roll-up displays deliver portability and quick assembly for on-the-go marketing. Effective design keeps typography legible, colors aligned with brand guidelines, and calls to action clearly visible, regardless of format. In practice, plan layouts, choose durable materials, and test readability in the actual event space to maximize impact. Together, these signage options create a cohesive visual story that travels with your brand from trade shows to storefronts.
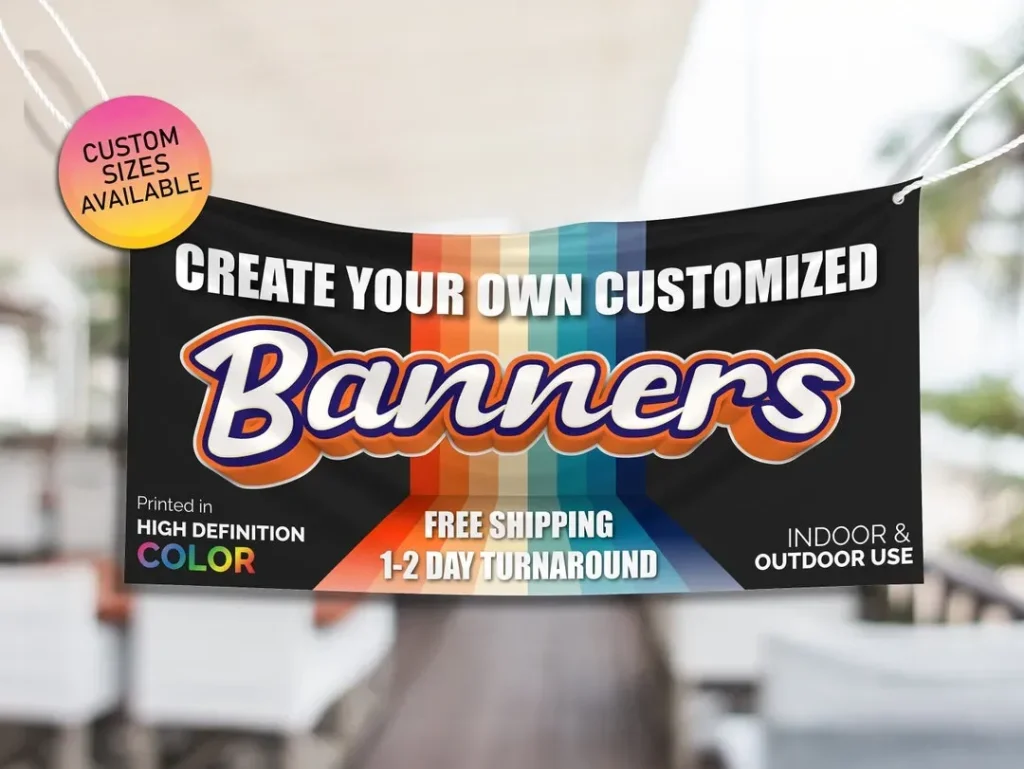
Custom Banner and Roll Up Banner: Crafting a High-Impact Trade Show Display
A Custom Banner and a Roll Up Banner work in tandem to create a cohesive visual story for trade show banners and storefront displays. The Custom Banner acts as a large, flexible backdrop, while the Roll Up Banner provides quick, portable messaging. This synergy supports banner design and custom banner printing goals, ensuring the display communicates branding and a clear call to action.
When planning, align banner sizes with viewing distances and venue layouts, and ensure consistent branding across both formats. The combination of a Custom Banner and a Roll Up Banner makes it easier to reuse artwork across different spaces and formats, reinforcing your message and improving overall banner design.
Efficient Banner Setup: Quick Deployment for Events and Storefronts
Fast deployment is essential; with a Roll Up Banner and a Custom Banner you can go from unpacked to display-ready in minutes, minimizing banner setup time at events like trade shows and store openings. The lightweight hardware and simple assembly keep staff focused on engaging visitors rather than wrestling with equipment.
Create a quick-start kit with standardized templates, bleed, and safe margins so artwork can be reused across formats. This approach reduces production time and ensures the banner design remains consistent when printing for custom banner printing across different sizes and applications.
Design Principles for a High-Impact Custom Banner
Design principles for high impact begin with a clear objective, bold typography, and a color palette aligned with brand guidelines. In the context of a Custom Banner, ensure a strong focal point and concise headline; for a Roll Up Banner, optimize legibility at distance as part of the overall banner design strategy.
Focus on size and aspect ratios that fit the space, ensure high-resolution artwork for printing, and choose fonts that remain readable from far away. Testing color contrast in the venue helps ensure banner setup remains legible under variable lighting and along sightlines.
Production Tips for Crisp, Durable Banners
Production efficiency hinges on correct file setup and print-ready formats. For crisp results, prepare artwork at 300 DPI, use CMYK, and include at least 3 mm bleed—vital steps for reliable custom banner printing and consistent banner design across formats.
Material choice matters: matte finishes reduce glare indoors, weather-resistant media suits outdoor use, and UV-resistant inks protect against fading for trade show banners. Printing for Roll Up Banners should be validated for durability during transport as part of banner setup readiness.
Practical Placement and Usage for Maximum Engagement
Placement strategy matters: position the Custom Banner as a backdrop to anchor the booth, while a Roll Up Banner can frame product areas, aisles, or reception points. For trade show banners, plan sightlines, lighting, and visitor flow to maximize impact and interaction.
Pair banners with supporting materials like literature racks, lighting, and digital cues. Use QR codes or URLs to guide visitors to more information, blending banner design with interactive elements and reinforcing your banner setup for a seamless attendee journey.
Budgeting, Timelines, and Common Pitfalls to Avoid
Budgeting and timelines shape the success of banner projects. Typical stages include concept, design, print production, and installation, with costs for artwork licensing, material selection, and banner printing. Proper planning helps align custom banner printing with banner setup deadlines and overall event goals.
Avoid common pitfalls by limiting text, testing contrast, ensuring high-resolution images, and maintaining brand consistency. A simple brand guideline for fonts, colors, and logo placement helps ensure trade show banners and other formats stay cohesive across events and applications.
Frequently Asked Questions
How can a Custom Banner and a Roll Up Banner work together to maximize impact for trade show banners?
A Custom Banner provides a large, flexible canvas for bold branding and a backdrop, while a Roll Up Banner is compact, portable, and quick to deploy. Together they create a cohesive visual narrative across venues—from the trade show floor to storefronts and other trade show banners—balancing high-impact visuals with fast setup.
What should I consider in banner design to optimize both Custom Banner and Roll Up Banner?
Start with a clear objective, bold typography, and brand-aligned colors. Use a simple grid, limit fonts, and ensure high contrast for readability from a distance. Keep copy concise with a clear call to action, and design with a banner setup that translates well across both formats.
What are the best practices for production when printing a Custom Banner?
Prepare artwork at 300 DPI, CMYK, and include a 3 mm bleed. Use vector logos and choose matte vinyl for indoor use or weather-resistant materials with UV inks for outdoor. Maintain safe margins, request proofs, and organize files so the printing process stays consistent.
What sizes and aspect ratios should I consider for indoor banners, including roll up banner sizes?
For indoor use, common banner sizes range from 85 x 200 cm to 100 x 200 cm for backdrops. Roll Up Banner sizes typically around 85 x 200 cm or 120 x 200 cm. Align dimensions with viewing distance and venue layout, and keep branding consistent across both formats.
How should I deploy Custom Banner and Roll Up Banner at events like trade shows?
Position the Custom Banner as a focal backdrop behind speakers or product displays. Use Roll Up Banners in aisles, reception areas, or next to key demonstrations for quick attention. Lean Roll Ups against walls to save space and pair with literature racks, with a clear banner setup plan for fast deployment.
What common mistakes should I avoid to ensure fast setup and high impact?
Avoid too much text, poor contrast, and low-resolution images. Watch for inconsistent branding and ignoring venue lighting. Always test proofs, ensure bleed and safe margins, and focus on one primary message with a clear CTA to guide viewers.
| Topic | Key Points |
|---|---|
| Purpose and benefits | – Banners capture attention fast and deliver quick impact at events, store openings, and trade shows. – They should be reliable, easy to transport, and visually striking to drive engagement. |
| Custom Banner vs Roll Up Banner | – Custom Banner: larger, flexible print; can hang on walls or backdrop a space; provides wide branding real estate. – Roll Up Banner: compact, portable, quick to assemble; ideal for on-the-go marketing. |
| Fast setup matters | – Every minute counts in fast-moving marketing environments. – Ready-to-deploy banners reduce downtime and errors; standardize sizes/templates to reuse artwork across formats while keeping brand consistency. |
| Key elements of a high-impact Custom Banner | – Size and aspect ratio: indoor sizes like 85 x 200 cm to 100 x 200 cm; Roll Up around 85 x 200 cm or 120 x 200 cm. – Artwork/typography: large bold headlines, high-res images, limited fonts. – Color/branding: dominant brand colors with good contrast. – Material/finish: matte vinyl/fabric for indoor; weather-resistant for outdoor. |
| Designing for speed | – Use a simple layout grid; headline near the top third; generous margins. – Align with a strong grid; limit callouts/icons; include a quick QR code or URL. – Prepare alternative layouts for different displays. |
| Production tips | – Resolution/file setup: 300 DPI, CMYK, bleed 3 mm. – Safe margins: keep critical text 5 mm inside trim. – Proofing: soft proofs and small physical print checks. – File naming: clear project/size/version references. – Consistency: maintain core visuals across formats. |
| Timelines and budgeting | – Four stages: concept, design, print, installation. – Two checkpoints: design review and print proof. – Budgeting: consider artwork licensing, materials, and printing costs. |
| Practical placement | – Place banners in high-visibility zones with clear sightlines. – Use a Custom Banner as a backdrop; Roll Up for aisles, reception, or small displays. – Pair Roll Up with a literature rack to boost engagement. |
| Common mistakes | – Too much text; poor contrast; low-res images; inconsistent branding. – Ensure readable color, legible typography, and a simple brand guideline. |
| Quick-start checklist | – Define objective and key message for both banners. – Choose space-fitting sizes. – Prepare artwork at 300 DPI CMYK with bleed and safe margins. – Select durable indoor/outdoor materials. – Plan installation/transport. – Align colors and fonts with brand guidelines. – Review proofs and finalize after color/copy adjustments. – Create reuse plan for future campaigns. |
Summary
This table highlights the essential ideas from the base content, outlining the roles, differences, and practical guidance for using Custom Banner and Roll Up Banner effectively. It covers setup speed, design choices, production tips, budgeting, placement, and common pitfalls, plus a quick-start checklist to help planners implement an impactful banner strategy.