
DTF transfer curing is the essential stage in achieving vibrant, durable prints on garments. A practical mastery of DTF timing helps you dial in when the ink and adhesive should fully set for wash-fast results. Aligned with a thoughtful heat plan, this timing influences color brightness, edge definition, and fabric hand. Delivering consistency across cotton, blends, and performance fabrics starts with careful profiling of substrates and ink densities. This introduction invites you to explore practical tips that balance speed, durability, and color while keeping the hand feel comfortable.
From a language of finishing and bonding, the same idea shows up as a controlled curing sequence rather than a single heat moment. In this LSI-informed framing, you’ll hear terms like the finishing phase, adhesion setting, and bond development between ink, powder, and fabric. The DTF curing temperature plays a pivotal role, shaping adhesive flow and color settlement under pressure, so testing a few targets helps map durable outcomes. A concise guide to DTF curing and clear notes on DTF heat press settings provide a repeatable protocol for your shop.
1) DTF Curing Temperature: Balancing Heat for Diverse Fabrics
DTF curing temperature is the cornerstone of a durable, vibrant transfer. The right heat helps the adhesive melt and bond with the fabric while allowing the ink to set without scorching or color shifting. Typical guidelines include cotton and cotton blends in the 160–170°C (320–338°F) range, polyester-friendly settings around 150–160°C (302–320°F), and slightly longer dwell times for heavier ink coverage. Delicate fabrics may need the lower end of the spectrum, roughly 140–150°C (284–302°F).
To ensure consistent results, always verify the platen temperature with a calibrated thermometer, and consider preheating the press with the transfer in place for a few seconds to stabilize heat. Ambient humidity and fabric density also influence how heat behaves during curing, so plan your setup with these factors in mind and perform quick checks on representative swatches before large runs.
2) DTF Transfer Timing: How Long to Cure for Different Substrates
DTF transfer timing is the second critical lever after temperature. The dwell time dictates how long the adhesive and ink have to set under pressure, and it must be tuned to fabric type and ink density. For light-to-medium ink density on cotton or cotton blends, a dwell of about 10–14 seconds at 160–170°C is common. Heavier ink density or dark fabrics typically require 12–18 seconds at 165–175°C, while polyester blends with lower fiber content can cure effectively at 8–12 seconds in the 140–150°C range, followed by a brief cooldown.
Because timing and temperature interact, start with manufacturer recommendations and refine with fabric-specific tests. For complex designs or high-contrast artwork, run a small matrix of timings on similar fabric swatches and compare wash durability and hand feel. Document the results so future runs can reuse the best-performing settings.
3) Peel Methods for DTF: Hot Peel vs Cool Peel and Their Effects
Peel methods for DTF influence color vibrancy, edge sharpness, and the overall hand of the finished print. Hot peel is commonly used when ink density is moderate and the adhesive has set enough to hold edges firmly; it tends to yield brighter colors and crisper transitions. Cool or thermal peel, performed after cooling to room temperature, can reduce color bleed on high-contrast designs and may soften the final hand on some fabrics.
Choosing the right peel method depends on fabric type, ink density, and the risk of adhesive flow. For most cotton garments and lighter colors, hot peel works well within standard temperature and time ranges. For polyester blends or elastane-heavy fabrics, a warm or cool peel might improve edge quality and reduce dye migration, so run a quick comparison on production swatches and select the method that consistently delivers clean edges and stable adhesion.
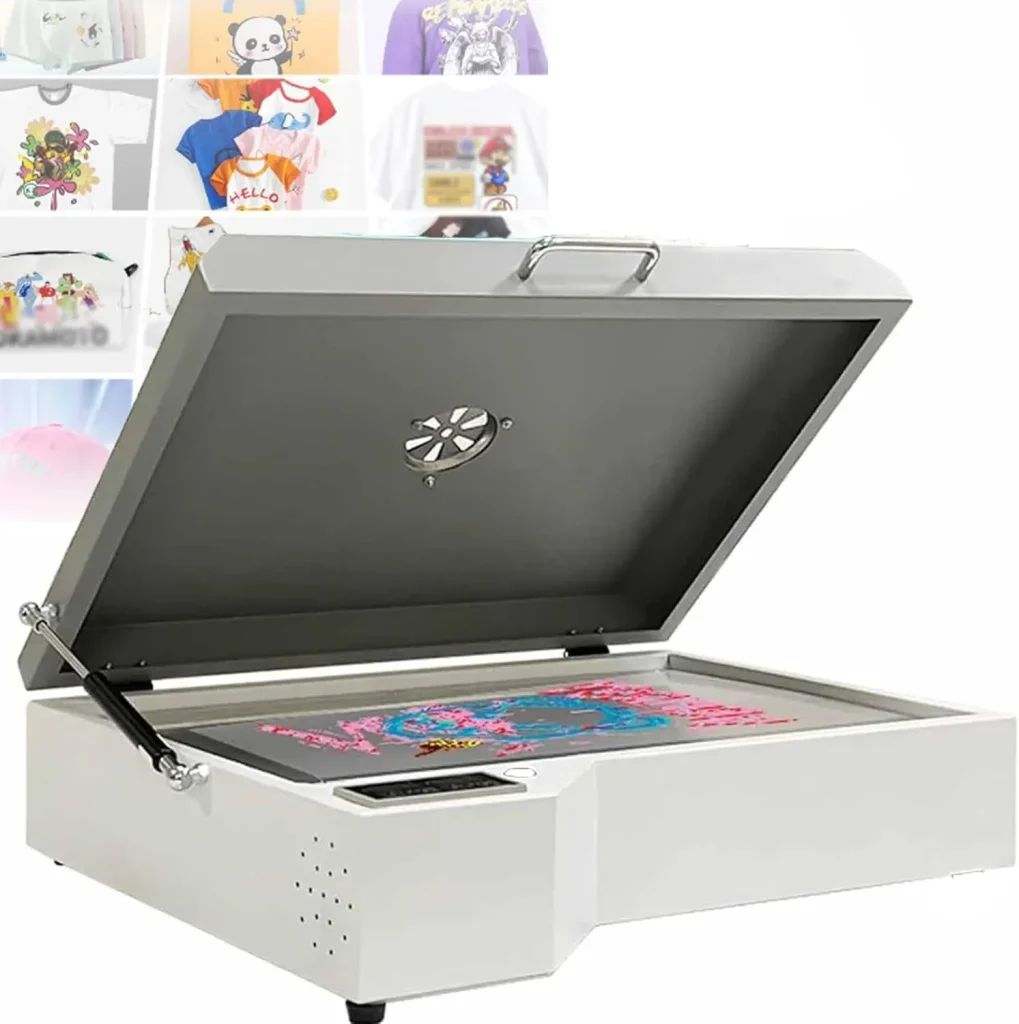
4) DTF Heat Press Settings: Achieving Consistent Curing Across Fabrics
DTF heat press settings govern the reliability of the curing process. Uniform pressure, stable temperature, and appropriate dwell time are essential for consistent results across batches. Key practices include verifying platen temperature with a thermometer, using a teflon or silicone release sheet to distribute heat evenly, and calibrating pressure to avoid air gaps under the transfer. Fabric thickness and fiber type should guide adjustments to dwell time and temperature.
Ensure pre-press consistency by conditioning the press before each run and maintaining similar pre-press conditions across items. If you notice uneven curing, recheck the heat source, distribution across the platen, and the condition of protective layers. Regularly validating these DTF heat press settings helps you reproduce results reliably, even as you switch between different fabrics.
5) A Practical DTF Curing Guide: Testing, Validation, and Troubleshooting
DTF curing guide-like discipline begins with a structured testing workflow. Start with a standard test panel representing your planned fabrics and designs, applying the transfer with your typical protocol. Create a small matrix of conditions—two temperatures, two times, and two peel methods—and wash and inspect after a standard laundering cycle to gauge durability and color retention.
Document outcomes with a simple rubric: color vibrancy, edge integrity, hand feel, and any signs of peeling or cracking. Troubleshooting often points to under- or over-curing, incorrect pressure, or temperature drift. If peeling or edge cracking appears, increment dwell time by 1–2 seconds and re-test; if color bleeding occurs, lower temperature slightly and shorten the dwell by 1–2 seconds. This iterative approach turns curing into a repeatable, data-driven process.
6) Fabric-Specific Curing: Adapting Your Protocol Across Common Materials
Different fabrics respond uniquely to curing, so tailoring your protocol is essential. Cotton is generally forgiving, with standard 160–170°C and 10–14 seconds providing reliable adhesion and a good hand. Cotton/polyester blends benefit from a balanced approach—165–175°C for 12–18 seconds is effective, with a possible warm peel to optimize edge quality.
Polyester and blends with lower fiber content typically require cooler, shorter cycles (around 150–160°C for 8–12 seconds) to minimize scorching. Spandex or elastane blends demand even gentler heat and shorter dwell times to preserve elasticity. Keep a fabric-specific curing library: test, document, and refine for each substrate, then scale by maintaining the same calibrated settings across similar garments.
Frequently Asked Questions
What is DTF transfer curing and why do timing, temperature, and peel methods matter in DTF curing?
DTF transfer curing is the final setting step after applying the transfer, where the ink and adhesive bond with the fabric. The three levers—DTF transfer timing (dwell time), DTF curing temperature, and peel methods for DTF (hot peel vs cold/cool peel)—directly impact bond strength, color accuracy, hand feel, and wash durability. Start with manufacturer ranges and fine‑tune based on fabric type and observed results to achieve consistent, durable prints.
How do I choose the right DTF curing temperature for different fabrics according to the DTF curing temperature guidance?
Begin with common baselines from the DTF curing temperature guidance: cotton and cotton blends typically 160–170°C, polyester 150–160°C, and delicate fabrics 140–150°C. For heavier ink density or dark fabrics, consider 165–175°C. Always verify the actual platen temperature with a thermometer and perform a small test to confirm there’s no scorching or ink bleed before a full run.
What should I know about DTF transfer timing and how should I adjust dwell times across substrates?
DTF transfer timing refers to how long the press holds the transfer at the set temperature. Typical ranges are 10–14 seconds for light-to-medium ink density on cotton, and 12–18 seconds for heavier ink or dark fabrics. Polyester blends often benefit from shorter times (8–12 seconds) at lower temperatures. When adjusting, make small 1–2 second changes and test on similar fabrics to dial in the optimal dwell for each substrate.
When should I use hot peel vs cold peel in peel methods for DTF, and how does this choice affect results?
Hot peel (removing while warm) generally yields brighter colors and crisper edges, especially on cotton and lighter fabrics. Cool/ cold peel (removing after cooling) can reduce color bleed on high-contrast designs and thicker fabrics. Use hot peel as the default for most cotton-based items, but test cold peel for edge quality on poly blends or when you notice edge halos or adhesive residue.
What are the essential DTF heat press settings and equipment considerations for reliable curing?
Key considerations include achieving uniform pressure across the transfer area, verifying platen temperature with a thermometer, and using protective layers like a Teflon or silicone sheet to prevent scorching. Pre-press briefly to stabilize moisture and flatten fibers, and factor in fabric thickness when selecting time and temperature. Maintain consistency across runs to ensure reproducible results.
How can I implement a DTF curing guide with testing, validation, and troubleshooting to ensure consistent results?
Follow a practical testing workflow: start with a standard test panel on a representative fabric, run a small matrix of two temperatures, two times, and two peel methods, then launder and inspect. Record outcomes for color, edge integrity, and hand feel, and refine settings accordingly. Common issues like under-curing, over-curing, color bleeding, or edge halos can usually be addressed by small adjustments to time, temperature, or peel method, guided by the test data.
| Key Point | What it Means | Typical Guidelines / Ranges | Impact / Notes |
|---|---|---|---|
| DTF transfer curing purpose. | Final setting phase post-transfer that bonds ink and adhesive to fabric, yielding wash-fast, color-stable prints. | Follow manufacturer ranges; adjust for fabric and design. | Foundation for durability; incorrect curing can cause washout, fading, or cracking. |
| Three levers: Timing, Temperature, Peel Method. | These control how ink, adhesive, and fabric bond and how the final hand feels. | Interact with fabric type, ink density, film quality, powder adhesion, and humidity. | Understanding interactions is key to dialing in a reliable cure. |
| Timing | Dwell duration at set temp/pressure; under-cure risks cracking; over-cure risks scorching and stiff hand. | Light/medium ink on cotton: 10–14s at 160–170°C; heavier/dark fabrics: 12–18s at 165–175°C; polyester low-fiber: 8–12s at 140–150°C with cooldown; delicate: 8–10s at 150–160°C. | Start with manufacturer ranges; fine-tune by 1–2s based on results; test on similar fabrics for multi-color designs. |
| Temperature | Affects adhesive flow, ink set, and bond strength between ink, adhesive, and fabric. | Cotton: 160–170°C; polyester: 150–160°C; heavy/dark: 165–175°C; delicate: 140–150°C with reduced dwell. | Verify platen temperature with a thermometer; preheat; run a three-sample test if unsure of optimal temperature. |
| Peel methods | When you remove the transfer carrier sheet after heat-press; affects vibrancy, edge sharpness, and adhesion. | Hot peel yields brighter colors and crisper edges; cool/thermal peel reduces color bleed for high-contrast designs or thicker fabrics. | Default to hot peel for cotton/light fabrics; warm peel may help with edge quality on poly blends; if halos or sticky adhesive, try cool peel; handle garment gently after peeling. |
| Heat press settings & equipment | Consistency of pressure, platen temperature, and protective layers impact curing. | Calibrate temperature; use teflon/silicone sheets; consider pre-press; adjust for fabric thickness and fiber type. | Maintain consistent pre-press, monitor humidity, and ensure even heat distribution to avoid uneven curing. |
| Testing, validation, troubleshooting | A systematic workflow to validate curing protocol. | Test panel; matrix of two temps, two times, two peels; launder; log results; refine. | Common issues: peeling/edge cracking from under-cure; color bleeding from too much heat/time; uneven finish from temperature drift; stiff hand from over-cure. |
| Fabric variety & design considerations | Fabrics behave differently; tailor settings to substrate. | Cotton: 160–170°C, 10–14s; cotton blends: 165–175°C, 12–18s; polyester: 150–160°C, 8–12s; spandex/elastane: 150–155°C, 8–10s; dark fabrics require careful balance. | Test thoroughly for colorfastness and elasticity; adjust per fabric. |
| Practical steps to implement robust curing protocol | Steps to build a reliable protocol. | Create a testing library; document settings; calibrate equipment; pre-press technique; post-cure care. | Maintain a log for each fabric/ink/film; use data to reproduce results; establish baseline results for scalability. |
Summary
DTF transfer curing is a critical, highly actionable phase in the garment embellishment workflow, shaping how vibrantly and durably ink and adhesive bond to fabric. By tuning timing, temperature, and peel methods—and by testing across fabrics and designs—you can achieve wash-fast, color-stable results with a soft hand. A disciplined, data-driven approach reduces reprints and waste and helps you scale production with consistency. Start from supplier recommendations, validate with fabric-specific tests, and document every variable to build a robust curing protocol. In practice, sticking to controlled pre-press, calibrated temperatures, and thoughtful peel strategies yields reliable adhesion across cotton, blends, polyester, and stretch fabrics, even under regular laundering.