
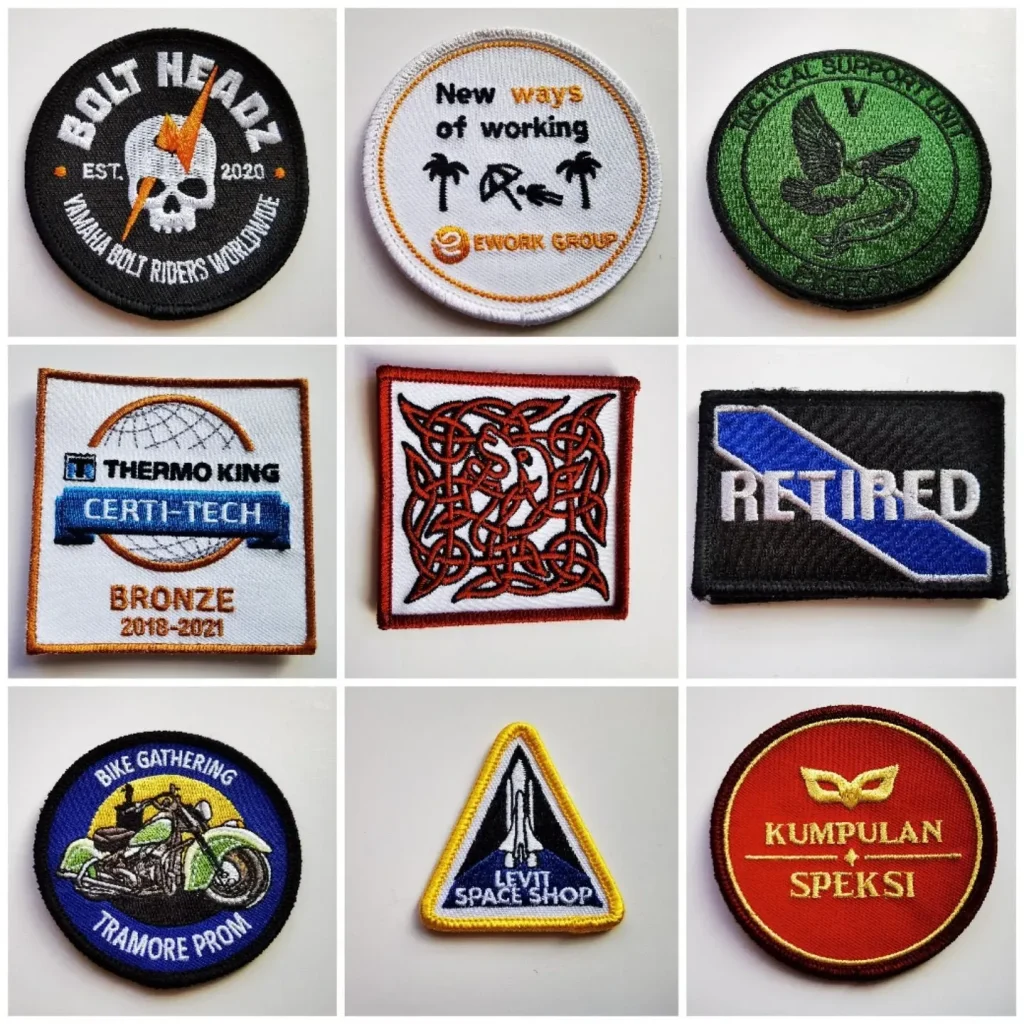
Custom embroidered patches are a versatile, cost-effective way to boost brand recognition, celebrate team achievements, or commemorate events. They serve as embroidered patches for branding, a durable micro-branding element that customers and staff instantly recognize. If you are looking to elevate apparel, gear, or merchandise, learning about designing custom patches is a smart move. This step-by-step guide walks you through the patch embroidery process, covering planning, design, production, and practical tips to ensure you end up with patches that look great and wear well. Understanding costs and timelines is also key, as you compare custom patches cost and turnaround options with manufacturers and shape a scalable patch program for your brand.
Viewed from a different angle, these fabric badges act as badge embroidery and branding identifiers that decorate uniforms, bags, and gear. In plain terms, you can think of them as fabric emblems, sewn or ironed onto apparel to carry a brand story without shouting. This framing aligns with Latent Semantic Indexing principles by pairing related terms such as badge embroidery, fabric insignias, and sew-on patches with practical concerns like backing choices, production timing, and durability. Whether you call them emblems, patches, or badges, the goal remains the same: a scalable way to extend your brand across garments and merchandise.
Understanding the Branding Value of Embroidered Patches
Embroidered patches serve as durable micro-branding that travels with your products and teams. When applied to uniforms, bags, or merchandise they act as a constant brand signal, helping customers recognize your company at a glance. This longevity means patches can extend your brand reach long after the initial campaign, making them an ideal element for embroidered patches for branding.
When used consistently, patches reinforce identity across touchpoints from product packaging to apparel. A thoughtful patch program can unify colors, typography, and symbols so fans, customers, and employees perceive a cohesive brand story every time they interact with your gear. The right design and process turn a small badge into a trusted visual cue that strengthens brand affinity.
From Concept to Creation: Designing Custom Patches for Your Brand
From concept to creation, start by defining the patch’s role and how it will reinforce your brand. This is the stage where you concentrate on designing custom patches that fit your products, teams, or events. Clarity at this stage helps guide size, shape, color, and the level of detail that is realistic for production.
This is where custom embroidered patches come to life, combining designing custom patches with production practicality. A vector based artwork ensures clean lines and scalable size, while planning for backing options can influence the final appearance. By prioritizing simplified shapes and bold borders you set up patches to look strong on uniforms and accessories, and this is a core part of the design process.
Materials, Shapes, and Backings: Choosing Patch Specs the Smart Way
Selecting materials and backing options determines how patches feel and wear over time. Twill, felt, and chenille provide different textures, while iron on, sew on, and Velcro backings offer varied application convenience. The choice affects durability, washability, and how the patch will interact with brand colors and fabric.
Size and shape decisions influence production complexity and cost. Standard forms like round, shield, or oval are easier to source, while more intricate shapes can require design simplification. Border finishes such as merrow provide a crisp edge that supports legibility from a distance, helping your patch maintain visual impact across brand touchpoints.
The Patch Embroidery Process: Steps from Proof to Production
Understanding the patch embroidery process involves predictable steps from artwork proofs to material selection. Early proofs confirm stitch types and density, and you will review color codes to ensure the final patch aligns with your brand palette.
A test run and a thorough pre production check help catch issues before full production. With clear communication and timely approvals you can reduce rework and keep the patch program on track for quality and consistency. The process emphasizes accuracy, timely proofs, and durable stitching that holds up to washing and wear.
Cost and Turnaround for Custom Patches
Understanding the factors that drive pricing helps you plan effectively. The main variables include quantity, stitch density, color count, fabric type, backing choice, and any setup fees. The phrase custom patches cost and turnaround frequently appears in vendor discussions as a shorthand for project scope and lead times.
To manage costs, request multiple quotes and seek a transparent line item breakdown. Evaluate opportunities to simplify color palettes, reduce patch size, or consolidate orders to reach a price tier that matches your expected volume and timeframe.
Sourcing, Quality Control, and Patch Manufacturing for Brands
Choosing the right manufacturer is critical for delivering patches that meet your brand standards. Look for experience with your patch type, backing options, and evidence of quality control. Request example patches, client references, and certifications that demonstrate reliability.
Quality control should be built into every stage from artwork proofs to final inspection. If possible, visit the facility or arrange live video inspections to verify colorfastness, stitching density, and overall workmanship. Patch manufacturing for brands benefits from suppliers who provide clear proofs, transparent timelines, and responsive communication.
Frequently Asked Questions
What are custom embroidered patches and how can they enhance embroidered patches for branding?
Custom embroidered patches are fabric badges stitched with thread to create durable, brand-focused designs. They serve as high-visibility branding elements that can be applied to uniforms, hats, bags, and merchandise, making embroidered patches for branding more recognizable and long-lasting. When planning, consider patch size, shape, color palette, backing, and placement to maximize branding impact.
How do you approach designing custom patches for a cohesive brand identity?
Designing custom patches starts with vector-ready artwork and a clear brief tied to your brand identity. Simplify complex logos, limit color count for readability, and use bold outlines to ensure legibility on various fabrics. Request a digital proof from your patch manufacturer to verify stitches, density, and color accuracy before production.
What is the patch embroidery process from artwork to finished patches?
The patch embroidery process typically includes artwork proofing, material and backing selection, production setup, a sample run, and full production with quality checks. A proof confirms stitch types, density, and color matching, while a test run catches issues before the entire order ships.
How are custom patches cost and turnaround determined, and what should you expect?
Cost and turnaround depend on quantity, stitch density and color count, fabric and backing choices, and any setup fees. Larger orders usually reduce per-unit costs, while rush orders may incur extra fees. Get multiple quotes and look for itemized pricing to identify savings, such as simplifying colors or reducing patch size.
What materials, sizes, shapes, and backings should you consider in patch manufacturing for brands?
Consider fabrics like twill, felt, or chenille for durability and feel, and backing options such as iron-on, sew-on, or Velcro for flexibility. Start with common shapes (round, shield, oval) and plan for scale or more intricate designs. A merrow border provides a durable edge, and high-quality threads with careful color matching help ensure longevity.
How can you select a reliable supplier for patch manufacturing for brands and ensure quality?
Choose a supplier with proven experience in your patch type and backing options, review their portfolio and customer feedback, and verify their quality control standards and certifications. Request proofs and pre-production samples, establish clear timelines, and consider factory visits or live inspections to maintain consistent quality across your patch program.
| Step / Aspect | Key Points |
|---|---|
| Step 1: Define goals and patch use (designing custom patches) |
|
| Step 2: Design and artwork considerations (designing custom patches) |
|
| Step 3: Materials, sizes, shapes, and backing options (patch embroidery process) |
|
| Step 4: The patch embroidery process (from proof to production) |
|
| Step 5: Finishing, packaging, and application tips (post-embroidery care) |
|
| Step 6: Cost considerations and turnaround times (custom patches cost and turnaround) |
|
| Step 7: Sourcing and quality control (patch manufacturing for brands) |
|
Summary
Custom embroidered patches offer a tangible, scalable way to extend your brand’s reach across apparel, gear, and merchandise. By defining goals, investing in thoughtful design, selecting the right materials and backing, and partnering with a reliable manufacturer, you can create patches that are visually striking, durable, and easy to apply. A well-planned patch program aligns with your brand aesthetics, ensures consistency across products, and can scale as your organization grows. Through careful testing, clear proofs, and proactive communication, your patches become enduring elements of your branding story, helping customers and fans wear your brand with pride. Focus on consistency and quality in planning and content strategy, so the patch program supports your brand’s growth and engagement over time.