
To remove old patches without damaging fabric, begin by identifying patch type and fabric composition. This SEO-friendly guide covers safe techniques for removal and answers how to remove old patches fabric safely. You’ll learn techniques tailored to sewn-on, iron-on, and adhesive-backed patches, with a focus on gentle fabric patch removal. Key phrases like remove patches from fabric safely, patch removal techniques, and fabric patch removal tips help improve search visibility. By testing on hidden areas and proceeding slowly, you can preserve the garment while achieving a clean, patch-free result.
From another angle, the topic can be described as depatching or removing fabric embellishments without harming the textile. Alternative terms include patch detachment, embroidery removal, or adhesive-backed decoration removal, all aimed at preserving fibers and color. This framing follows LSI principles by pairing related ideas such as garment restoration, fabric care, and safe technique application. Understanding these varied expressions helps readers connect with content across search intents while staying focused on safe removal methods.
Identify Patch Type to Guide Safe Patch Removal
Begin by identifying the patch type: sewn-on, iron-on, or fabric-glue. Knowing the patch type guides your approach to patch removal techniques and helps protect the fabric during the process. This initial step aligns with how to remove old patches fabric safely, ensuring you choose methods tailored to the patch.
With the right assessment, you can plan the removal with minimal stress on fibers and edges. Being explicit about the patch category reduces the risk of pulled threads, distortion, or leftover adhesive, and sets the stage for successful patch removal that preserves the garment.
Tools and Preparation for Gentle Fabric Patch Removal
Gather a core toolkit: fine-tipped seam ripper, small scissors, tweezers, a soft cloth, rubbing alcohol, mild soap, and an adhesive remover or white vinegar for residue. These items support a controlled, gentle fabric patch removal that follows best practices and aligns with fabric patch removal tips.
Prepare a clean workspace with bright lighting and a flat surface. Having a dedicated area makes it easier to work in small sections and stay within the bounds of gentle fabric patch removal while avoiding unnecessary damage.
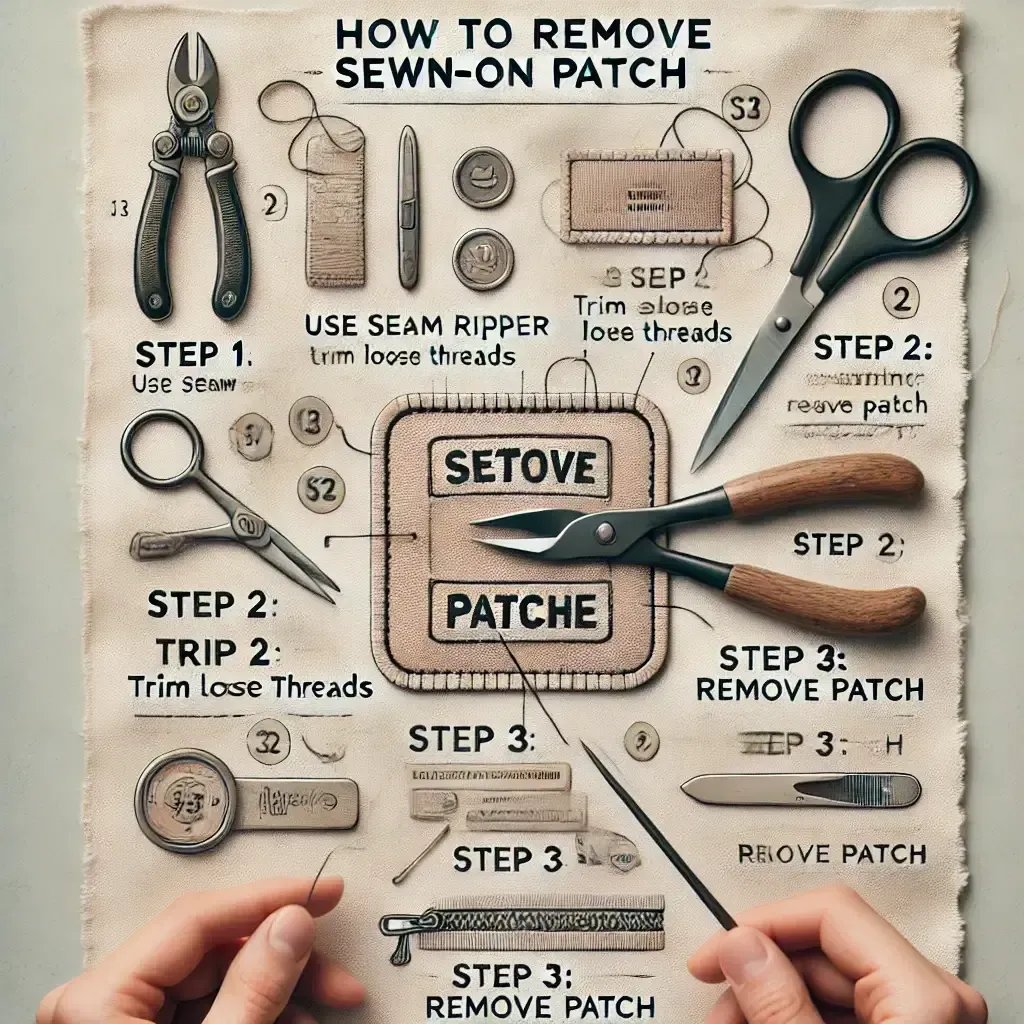
Sewn-On Patches: Step-by-Step Removal Without Damaging Fabric
For sewn-on patches, flip the garment inside out if possible and begin by cutting the threads around the patch edge. Use a seam ripper to release stitching in small sections, avoiding force that could tear the base fabric. This approach reflects classic patch removal techniques and demonstrates how to remove old patches fabric safely.
Slide the patch away once stitches are released and tidy up remaining threads with tweezers. If any fraying remains, trim close to the fabric and brush away lint as part of ongoing fabric patch removal tips and best practices.
Removing Iron-On Patches: Safe, Low-Heat Methods
Iron-on patches require heat to soften the adhesive. Place a pressing cloth over the patch and apply a low heat, brief contact to loosen the glue, repeating in short intervals. This method avoids melting fibers and follows gentle fabric patch removal principles.
Carefully lift from the edge with a fingernail or tweezers as the adhesive softens, then wipe away any residue with rubbing alcohol or a textile-safe remover. Launder the garment afterward and air-dry if you’re unsure about remaining residue.
Adhesive-Backed Patches: Gently Lift and Clear Residue
Adhesive-backed patches can often be lifted gently by peeling at the edge. If the bond is stubborn, dab a small amount of adhesive remover around the edge to soften the glue before continuing. This sequence mirrors fabric patch removal tips and emphasizes safe handling of adhesives.
After removing the patch, rub the area with a cloth dampened with isopropyl alcohol or a vinegar solution to dissolve residue. Rinse with mild detergent and test for color transfer or distortion, stopping if you notice fiber damage.
How to remove old patches without damaging fabric: Delicate Fabrics and Aftercare
Delicate fabrics such as silk, lace, wool, and fine knits require extra care. When approaching removal, start with the gentlest method and test the area first to prevent color loss or fiber damage. This aligns with general patch removal guidance and reinforces the practice of gentle fabric patch removal.
After removal, follow care labels, wash gently, and consider professional alteration for tricky fabrics. These fabric patch removal tips help you maintain garment integrity and extend the life of sentimental pieces while avoiding stretching, puckering, or distortion.
Frequently Asked Questions
How can I remove patches from fabric safely without causing damage?
Start by identifying the patch type and testing solvents on a hidden area. For sewn-on patches, use a fine seam ripper to cut threads along the edge and lift the patch gently, then trim any loose threads. For iron-on patches, apply light heat with a pressing cloth and peel the patch away slowly, repeating as needed. For fabric-glue patches, lift the edge and apply a small amount of adhesive remover or vinegar to soften the bond, then wipe away residue. Finish by washing as directed and checking for any color changes; this aligns with fabric patch removal tips to remove patches from fabric safely.
What are the best patch removal techniques to remove old patches without harming the fabric?
Choose techniques tailored to patch type and start with the gentlest option. For sewn-on patches, carefully cut threads with a seam ripper and work in small sections. For iron-on patches, reheat with a pressing cloth and lift edge gradually. For fabric-glue patches, soften the glue with an adhesive remover or vinegar and peel. Test every solvent on a hidden area, then launder the garment after residue removal.
What is gentle fabric patch removal for delicate materials, and how can I apply it to remove old patches fabric safely?
Gentle fabric patch removal means using low-risk methods and avoiding harsh solvents or high heat on delicate fabrics. Always test on a hidden seam before proceeding. Start with lifting edges and removing threads for sewn-on patches; use low heat and a pressing cloth for iron-ons if necessary; for adhesives, use mild remover or vinegar and avoid soaking. If fabric shows signs of distress, seek professional help.
How to remove old patches fabric: a step-by-step guide for sewn-on, iron-on, and fabric-glue patches?
Identify patch type first. For sewn-on patches, flip the garment inside out, use a seam ripper to cut threads along the edge, lift the patch, trim loose threads, and remove residue with rubbing alcohol on a cloth. For iron-on patches, reheat safely with a pressing cloth, peel from the edge, then wipe away glue with alcohol. For fabric-glue patches, lift the edge, apply adhesive remover or vinegar to soften, wipe residue, rinse lightly. Always test on hidden area and wash afterward.
What fabric patch removal tips help prevent color loss or fraying when removing patches from clothing?
Test solvents or heat on a hidden area first. Work in small sections and keep the garment flat to minimize stress. Use the right solvent in moderation and avoid soaking delicate fabrics. After removal, launder according to care label and air-dry to prevent reactivating adhesives. If color transfer occurs, repeat with a gentler approach or seek professional help.
How do I identify patch types and choose the right method to remove patches from fabric safely?
Start by inspecting the patch to determine if it is sewn-on, iron-on, or fabric-glue. Choose the corresponding technique and begin with the gentlest method. For sewn-on, use a seam ripper; for iron-on, use low heat with a pressing cloth; for fabric-glue, soften with adhesive remover or vinegar. Always test any solvent on a hidden area, work in small sections, and finish with a wash following care instructions.
| Aspect | Key Points |
|---|---|
| Patch types | Sewn-on: stitched; Iron-on: heat-activated glue; Fabric-glue: adhesive; Goal: preserve fabric while removing patches. |
| Tools & preparation | – Fine-tipped seam ripper or small embroidery scissors – Tweezers or needle-nose pliers – Soft cloth or cotton swabs – Rubbing alcohol or isopropyl alcohol (test on hidden area) – Mild dish soap or fabric-safe cleaner – Adhesive remover or white vinegar for residues – Iron/heat source with pressing cloth – Small brush or old toothbrush – Clean workspace and good lighting |
| Sewn-on patches removal (overview) | Inspect and prepare; cut stitches with seam ripper; lift patch; trim loose threads; remove glue/backing; test area before applying solvents |
| Removing iron-on patches | Check adhesive; reheat with pressing cloth; lift patch from edge; blot residue with alcohol or adhesive remover; wash/dry per care label; air-dry if unsure about residues |
| Removing fabric-glue patches | Gently lift edge; apply adhesive remover if needed; wipe with isopropyl alcohol or vinegar; rinse with mild detergent and cold water; test for color transfer; seek professional help for delicate fabrics if issues |
| Protecting delicate fabrics | Silks, wools, or delicate knits may require gentler, test-first methods or professional help; professionals can remove patches without harming fabric. |
| Tips for effective removal and aftercare | – Test solvents/heat on hidden area – Work in small sections – Keep garment flat – Use solvents in moderation – Aftercare: wash as care label directs |
| Common issues & troubleshooting | – Residue after removal: reapply solvent or try different remover; consider professional clean – Color change: test first; vinegar can help – Puckering: press with warm iron, use pressing cloth; stabilize fabric if needed |
| Conclusion (summary) | This row summarizes the overall patch removal process and considerations for safely removing patches across sewn-on, iron-on, and fabric-glue types to preserve garment integrity. |
Summary
Remove old patches without damaging fabric is achievable with careful assessment, the right tools, and a patient approach. By identifying patch type and selecting the appropriate method—sewn-on, iron-on, or fabric-glue—you preserve fabric integrity while reclaiming a clean, patch-free garment. This descriptive guide outlines practical, safe techniques, common questions, and aftercare tips to help you remove patches without harming fibers, fraying, or color, ensuring your wardrobe stays durable and presentable.