
Troubleshooting UV DTF transfers is a practical guide for anyone working with these durable graphics. This primer helps hobbyists and professionals tackle common UV DTF transfer issues and misalignment with confidence. By following a simple, repeatable workflow, you’ll learn DTF transfer troubleshooting steps that pinpoint whether the problem lies with printer settings, transfer film, adhesive, or heat-press conditions. The goal is to deliver crisp color, strong ink adhesion, and durable finishes while reducing scrap and rework. With practical fixes you can test on scrap fabrics, this guide helps you stay efficient and professional across small shops and busy production lines.
Looking at the topic through an LSI lens means framing it with related concepts such as UV print quality, substrate compatibility, adhesion performance, and heat-press consistency. In practice, terms like UV ink adhesion, transfer film compatibility, and color fidelity in textiles point to the same root issues in different search queries. This broader vocabulary helps readers discover practical fixes—calibration steps, pre-press prep, and proper curing—regardless of the exact terminology they use.
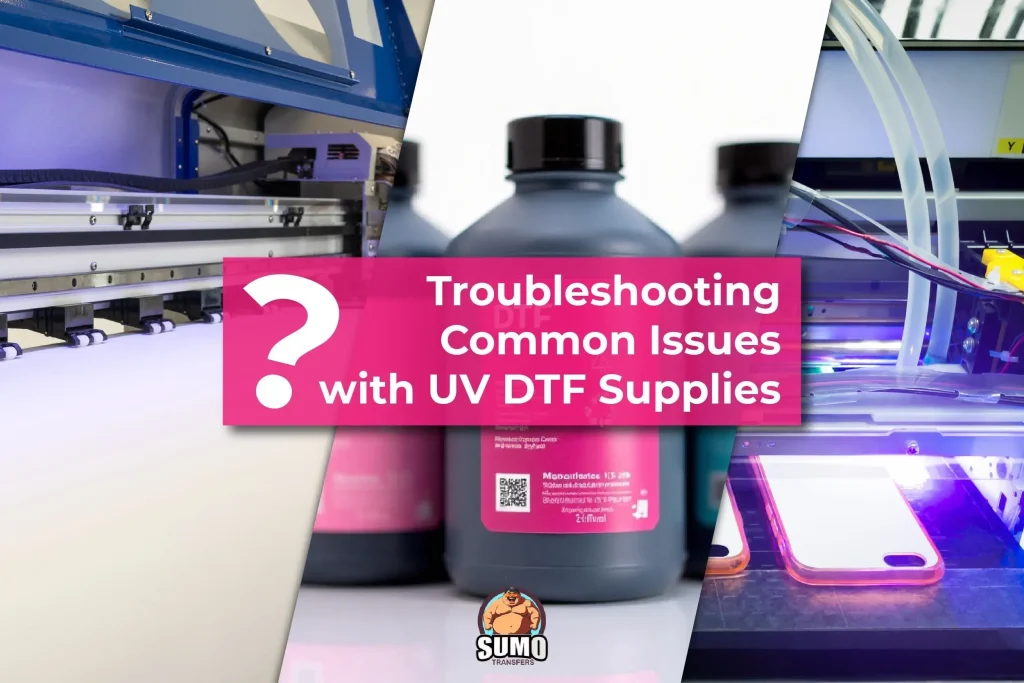
Troubleshooting UV DTF transfers: A systematic approach to common issues
When you’re dealing with UV DTF transfer issues, a structured, methodical approach saves time and materials. Start with a clear diagnosis by separating potential problem areas—printer outputs, transfer film and adhesive, substrate readiness, and heat-press settings. This framing helps you identify whether the root cause lies in the printing process or the downstream transfer stage, enabling targeted fixes rather than guesswork. By framing the repair as a process, you reduce downtime and improve consistency across runs.
A successful troubleshooting routine relies on checking fundamentals and validating results with controlled tests. Use a simple checklist to verify design preparation, correct transfer film selection, and clean, calibrated printer outputs before you even apply heat. This is the essence of DTF transfer troubleshooting: isolate variables, document settings, and compare to a known-good sample to determine whether the issue is temporary or systemic. This approach also supports better ink adhesion and color stability over longer production runs.
Root cause analysis for UV DTF transfer issues
Understanding the root causes of UV DTF transfer issues means looking beyond symptoms to the interaction between ink, adhesive, substrate, and heat. Problems like peeling UV DTF transfers often trace to adhesive performance or improper curing, while color bleed can stem from ink density, color management in the RIP, or under-curing. By mapping symptoms to potential contributors—printer alignment, film compatibility, fabric type, and press settings—you can craft a focused corrective plan.
Systematic diagnosis should leverage controlled experiments to confirm which variable is at fault. Run identical transfers on scrap fabrics that resemble the production substrate, adjust one setting at a time, and record outcomes. This disciplined testing helps distinguish whether issues are printer-related (e.g., misregistration or inconsistent ink flow) or material-related (e.g., substrate pre-treatment or adhesion compatibility). In doing so, you advance your overall UV DTF transfer troubleshooting program.
Fixing peeling UV DTF transfers and preventing recurrence
Peeling UV DTF transfers can undermine confidence in your prints and cost you material. Start with the adhesive and curing steps, ensuring the correct cure time, temperature, and pressure for your film-substrate pairing. Surface preparation is equally critical; a dusty or oily garment will dramatically reduce adhesion. By standardizing a pre-press wipe and a brief warm-up, you can improve contact and reduce peel risk right from the first run.
Beyond immediate fixes, prevention relies on process alignment and material compatibility. Re-check the transfer film’s compatibility with the substrate and consider a slight adjustment to pressure or dwell time if peeling persists. Maintain a routine of test patches and small-batch validations, especially when switching fabrics or adhesives. Documenting these adjustments strengthens your ability to prevent peeling on future UV DTF transfers and supports long-term durability.
Color fidelity and color bleed UV DTF transfers: strategies for crisp, vivid graphics
Color bleed UV DTF transfers erode perceived quality and can frustrate customers. Tackling this starts with color management: calibrate the RIP, set appropriate color profiles for each substrate, and control ink density to reduce oversaturation. A common pitfall is insufficient curing, which allows inks to smear or transfer unevenly. By aligning ink behavior with substrate properties, you protect color integrity across batches and improve wash-fastness.
To keep color accurate at scale, conduct test prints on representative fabrics and use a scrap sheet to validate color fidelity before committing to full production. Fine-tune overprint settings, ensure consistent curing, and monitor temperature stability in the workspace. When combined with predictable DPI and high-resolution artwork, these practices reduce color bleed UV DTF transfers and deliver consistently vibrant results.
Boosting ink adhesion UV DTF transfers across fabrics
Ink adhesion is the cornerstone of durable UV DTF transfers, especially on mixed or non-traditional fabrics. Start by verifying fabric compatibility and selecting adhesives formulated for the substrate. Adjust heat, time, and pressure to match fabric fiber content, and consider pre-treatments for challenging blends. Inadequate adhesion often points to a mismatch between ink chemistry, adhesive, and fabric, so ensure all components are designed to work together.
To maintain strong adhesion across production runs, standardize testing on several fabric types representative of your catalog. Use controlled conditions to measure adhesion quality after curing and a gentle post-press handling routine to avoid premature delamination. Regular maintenance of the printer and careful storage of inks and films help prevent degradation that can compromise ink adhesion UV DTF transfers over time.
A practical workflow for DTF transfer troubleshooting from design to finish
A practical workflow moves from design scrutiny to final verification, minimizing reworks and preventing errors before they escalate. Begin by confirming that the artwork is optimized for UV DTF transfers, including correct DPI, color space, and vector assets where appropriate. Ensure the transfer film and adhesive are appropriate for the substrate and that the printer is delivering clean, consistent outputs—the foundation of successful UV DTF transfer issues resolution.
Next, execute a controlled test on scrap fabric with the intended press settings, then compare results against a known-good sample. If issues appear in the print stage, address them before attempting transfer; if the problem surfaces after transfer, re-check heat-press calibration and substrate readiness. Documentation is essential—log settings, outcomes, and any adjustments—to build a repeatable, scalable troubleshooting routine that improves overall ink adhesion, color stability, and durability for every project.
Frequently Asked Questions
Q1: In Troubleshooting UV DTF transfers, what are the most common transfer issues and quick fixes to try first?
Common issues include peeling transfers, color bleed UV DTF transfers, misalignment/ghosting, streaks or uneven print, and fabric-specific ink adhesion. Quick fixes: clean and prep the garment surface, verify adhesive type and curing requirements, run a test patch to calibrate heat, pressure, and time, and check printer output and transfer film compatibility before large runs.
Q2: In DTF transfer troubleshooting, how can you resolve peeling UV DTF transfers and ensure better adhesion?
Peeling UV DTF transfers often result from weak adhesive, improper curing, insufficient pressure, or poor surface prep. Fixes include cleaning the garment surface, confirming adhesive compatibility and curing needs, performing a control test patch to calibrate heat/pressure/time, and adjusting the heat press for better contact. If peeling persists, reassess substrate compatibility and press settings.
Q3: How can you prevent color bleed UV DTF transfers during Troubleshooting UV DTF transfers?
Color bleed UV DTF transfers can stem from high ink density, poor RIP color management, or premature or uneven curing. Prevent with properly calibrated color profiles for the substrate, reducing ink density or adjusting overprint settings, ensuring consistent curing, and running color fidelity tests on representative fabric scraps before full runs.
Q4: During DTF transfer troubleshooting, what steps reduce misalignment or ghosting in UV DTF transfers?
Misalignment or ghosting is often caused by printer/platen misalignment or transfer shifting. Reduce by using registration marks, a reliable mounting method, ensuring the transfer sits flat on the garment, double-checking alignment before each run, and using a jig or guide for repeatable placement.
Q5: In Troubleshooting UV DTF transfers, how do you improve ink adhesion UV DTF transfers on challenging fabrics?
Improve adhesion by confirming fabric compatibility with UV DTF transfers, adjusting heat/time/pressure to suit the fabric, and considering fabric pre-treatment or test patches on representative materials. Consistent ink and adhesive quality, plus controlled environment, also help durability.
Q6: What is a practical, repeatable DTF transfer troubleshooting workflow for UV DTF transfers?
A practical workflow: 1) confirm basics (design, film, printer output); 2) run a controlled test on a scrap garment with identical settings; 3) verify print quality independently from the transfer; 4) calibrate the heat-press (temperature, time, pressure); 5) inspect substrate needs (pre-/post-treat); 6) validate with a small batch before scaling.
| Topic | Key Points |
|---|---|
| Common UV DTF transfer issues and quick fixes |
|